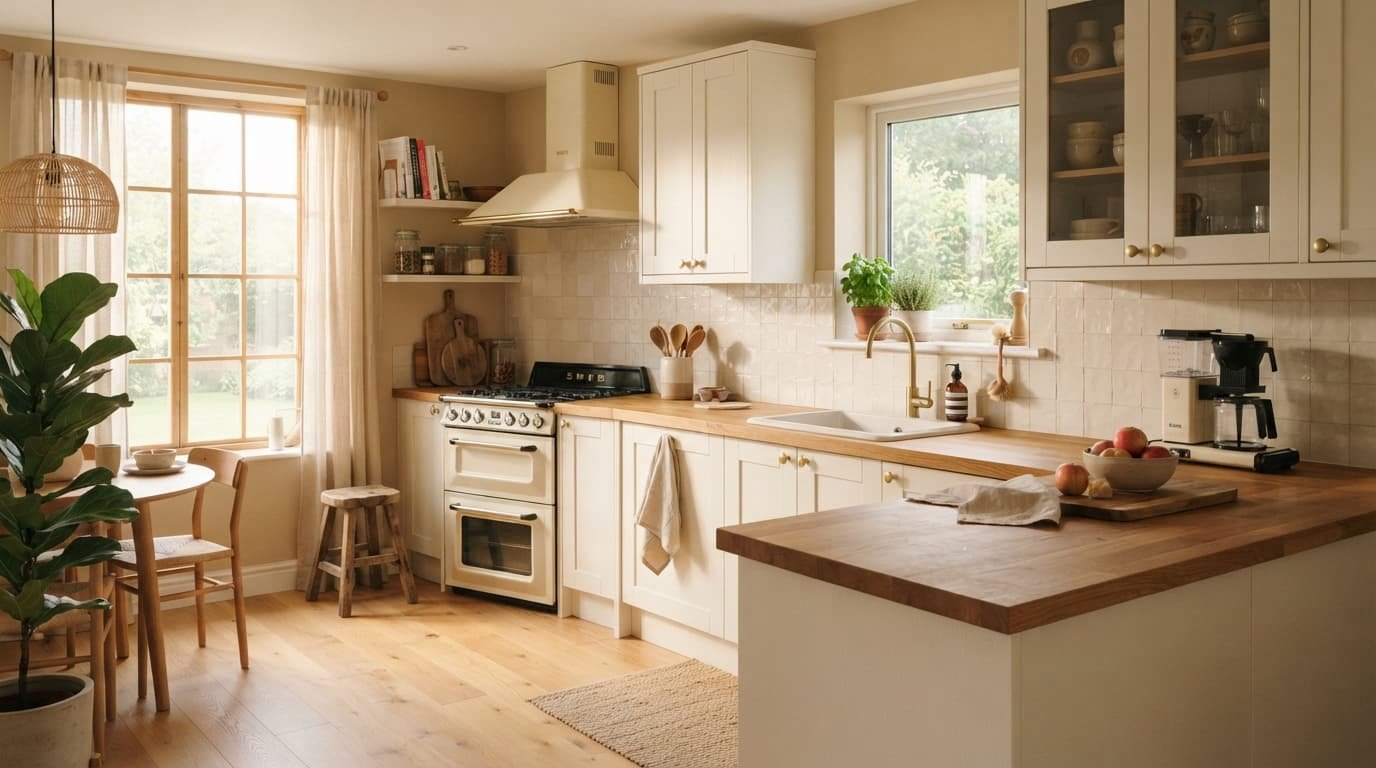

If your kitchen cabinets look dated, worn, or no longer suit the room, you may not need to replace them. Kitchen cabinet refinishing can refresh structurally sound cabinets while keeping the existing layout and much of the original cabinetry.
The key to a successful result is preparation. Cleaning, surface preparation, choosing the right primer and finish, and allowing enough time for drying and curing can all affect how well the new finish looks and holds up. Manufacturer guidance for cabinet coatings consistently emphasizes clean, dry surfaces, appropriate surface preparation, compatible primers, and adequate drying time.
Before buying supplies, though, determine whether your cabinets are actually good candidates for refinishing and which refinishing method fits the material.
Is Kitchen Cabinet Refinishing Right for Your Cabinets?
Start by inspecting the cabinet boxes, doors, and drawer fronts.
Kitchen cabinet refinishing makes the most sense when:
- The cabinet boxes are structurally sound.
- Doors and drawer fronts are still usable.
- Hinges and drawer hardware function properly.
- The existing surface is generally intact.
- You like the current kitchen layout.
- Your main concern is the color, finish, or worn appearance.
Refinishing will not solve major structural problems. If cabinet boxes are swollen from moisture, badly damaged, delaminating, or no longer function properly, a new coating may only hide the problem temporarily.
It is also important to understand what you mean by “refinishing.” In everyday home-improvement use, the term often includes repainting existing cabinets. Traditional wood refinishing can instead involve removing the existing finish and restoring the wood with stain and a protective clear coat.
These approaches are not the same. Painting changes the visible color and covers the existing appearance, while stain is generally chosen when you want to preserve or emphasize a suitable wood surface.
Quick Cabinet Check Before You Start
Ask yourself:
- Are the cabinet boxes solid and stable?
- Are the doors worth keeping?
- Is the existing surface firmly attached?
- Is the kitchen layout already functional?
- Do you mainly want a cosmetic change?
If you answered yes to most of these questions, refinishing may be a practical option.
9 Proven Kitchen Cabinet Refinishing Tips
1. Check the Cabinet Condition and Material First
The best kitchen cabinet refinishing project starts with an honest inspection.
Open every door and drawer. Look for loose joints, cracked panels, swollen areas, peeling surfaces, water damage, and damaged edges. Check whether doors close correctly and whether drawer boxes and slides still function.
Pay particular attention to areas around the sink and dishwasher. Repeated moisture exposure can cause problems that paint or stain cannot repair.
You should also identify what your cabinets are made from. Solid wood, MDF, laminate, thermofoil, and previously painted surfaces can require different preparation and coating systems.
If the cabinet structure is sound but the finish looks tired, refinishing can be a sensible update. If the underlying material is damaged, repair that issue before focusing on the new finish.
2. Choose Between Painting and Traditional Refinishing

Not every cabinet should receive the same treatment.
For suitable wood cabinets, you may be able to preserve the grain with a new stain or cover the existing appearance with paint. Painting gives you more flexibility if you want a completely different cabinet color.
Traditional wood refinishing usually involves removing or preparing the existing finish and applying stain and a protective clear finish. This approach makes the most sense when the underlying wood is attractive and suitable for staining.
MDF and many previously painted surfaces are generally better candidates for repainting than traditional staining.
Laminate and thermofoil need additional attention because their smooth surfaces can make adhesion more difficult. A compatible bonding primer and careful preparation may be necessary. If the surface is already peeling, bubbling, or separating from the substrate, applying another coating may not be the best solution.
Choosing the method before you start prevents you from buying products that are incompatible with the cabinet surface.
3. Remove and Label Doors, Drawers, and Hardware
Trying to refinish cabinet doors while they are still hanging can make the project unnecessarily difficult.
Remove:
- Cabinet doors
- Drawer fronts where practical
- Knobs and pulls
- Handles
- Hinges when appropriate
Label each door and its corresponding hardware as you remove it. A simple numbering system can prevent confusion when it is time to reinstall everything.
Place the doors on a flat, protected work surface where you can clean, prepare, prime, and finish them evenly.
Working on a flat surface also makes it easier to inspect the finish before moving on to the next coat.
4. Degrease the Cabinets Before Sanding

Kitchen cabinets collect more than ordinary dust. Cooking oils, fingerprints, food residue, and cleaning-product buildup can remain on the surface even when cabinets appear reasonably clean.
That residue can interfere with adhesion.
Use an appropriate cabinet-safe degreasing cleaner and follow its instructions. Clean the doors, drawer fronts, and cabinet frames, then allow them to dry completely before continuing.
Do not rush directly from cleaning to priming or painting.
A useful preparation sequence is:
Clean → Dry → Inspect → Sand or Prepare → Remove Dust → Prime
If the surface is still greasy or contaminated, even a high-quality cabinet coating may fail to adhere properly.
5. Sand or Scuff the Surface for Better Adhesion
Sanding is not always about removing every trace of the old finish.
For many cabinet painting projects, the goal is to dull a glossy surface and create a suitable profile for the primer to grip. The amount of sanding required depends on the existing coating, cabinet material, and product system you are using.
Use an abrasive appropriate for the surface and avoid unnecessarily damaging corners, profiles, veneer, or engineered materials.
After sanding, remove the dust thoroughly. Fine sanding residue can interfere with the next coat and leave unwanted texture in the finish.
Important safety note: If the cabinets are in a U.S. home built before 1978 and old paint may be present, do not treat sanding as an ordinary DIY step. Disturbing lead-based paint can create hazardous dust. Follow EPA lead-safe practices and consider a properly certified professional for applicable renovation work.
6. Choose a Primer That Matches the Surface

Primer is an important part of the adhesion system.
The correct primer depends on the cabinet material and existing finish. Smooth, glossy, previously painted, or laminate surfaces may require an adhesion-promoting primer, while bare or porous materials can have different requirements.
Before applying it, check the manufacturer’s instructions for:
- Surface preparation
- Compatible materials
- Application method
- Number of coats
- Recoat time
- Sanding requirements
- Ventilation
Do not choose a primer simply because it worked on another household project. Make sure it is compatible with both your cabinet surface and the intended topcoat.
A small test area can also help you check adhesion and appearance before committing to the entire kitchen.
7. Apply Thin, Even Coats of Cabinet Finish
Once the surface is clean, prepared, and primed, focus on consistent application.
Avoid trying to achieve complete coverage with one heavy coat. Thick application can increase the risk of runs, drips, uneven texture, and longer drying times.
For detailed cabinet doors, a quality brush can help with recessed areas, while a suitable fine-finish roller can work well on flatter surfaces. Spraying can produce a very smooth finish, but it requires suitable equipment, workspace, and technique.
Whatever application method you choose, follow the coating manufacturer’s instructions for the specific product.
The goal is not simply to make the cabinets look painted. It is to create a smooth, even finish that can withstand the repeated handling and cleaning expected in a kitchen.
8. Respect Drying and Curing Time
One of the easiest ways to damage a good cabinet refinishing project is to rush it.
A surface that feels dry to the touch does not necessarily mean it is ready for normal kitchen use. Cabinet doors and drawer fronts are opened, closed, touched, and cleaned frequently, so the finish needs adequate time to develop its intended durability.
Follow the product’s stated recoat and cure times rather than relying on how the surface feels.
Keep the work area reasonably clean while the finish dries. Dust, hair, and debris can settle onto wet coatings and become trapped in the surface.
If you are working in stages, give every coat the required time before sanding, recoating, handling, or reinstalling the components.
9. Reinstall Carefully and Protect the New Finish
Once the finish reaches the manufacturer’s recommended stage for reinstallation, put the doors, drawers, and hardware back carefully.
Avoid dragging freshly finished pieces across rough surfaces. When reinstalling hardware, do not overtighten screws because excessive pressure can damage the finish around the holes.
This is also a good opportunity to decide whether your existing hardware still suits the updated cabinets. New knobs or pulls can noticeably change the appearance without requiring another major renovation.
If you change hardware sizes or hole locations, repair old holes properly before applying the final finish rather than trying to hide them afterward.
After installation, continue treating the cabinets gently while the finish completes its curing process.
Does Cabinet Material Matter?
Yes. The cabinet material can affect both preparation and the type of refinishing method that makes sense.
Solid Wood Cabinets
Solid wood cabinets can offer several refinishing options. Depending on their existing finish and condition, you may paint them or use a more traditional stain-and-clear-coat approach.
If the wood has an attractive grain and you want to preserve it, staining may be worth considering. If you want a major color change, painting is usually the more straightforward option.
MDF Cabinets
MDF can be painted, but its edges and damaged areas need careful preparation.
Do not automatically treat MDF like unfinished solid wood. The existing coating, veneer, condition, and manufacturer’s recommendations should determine your preparation method.
Laminate Cabinets
Laminate has a smooth surface, so adhesion deserves extra attention.
A compatible bonding primer and careful surface preparation may be necessary before painting. If the laminate is peeling, bubbling, or separating, however, a new coating may not address the underlying problem.
Thermofoil Cabinets
Thermofoil can present similar adhesion and condition concerns.
Inspect the doors carefully for lifting, bubbling, or separation before deciding to refinish them. If the surface layer is failing, replacing affected doors or choosing another cabinet-updating method may be more practical.
Common Kitchen Cabinet Refinishing Mistakes to Avoid
Even a quality cabinet coating can produce disappointing results when preparation is rushed.
Skipping Degreasing
Grease and residue can interfere with primer and paint adhesion.
Sanding Too Aggressively
The objective is not always to remove every trace of the old finish. Excessive sanding can damage edges, profiles, veneer, or engineered surfaces.
Using an Unsuitable Primer
A primer designed for one type of surface may not provide the adhesion required for another.
Applying Thick Coats
Heavy coats can cause drips, uneven texture, and extended drying times.
Reinstalling Doors Too Soon
A finish that feels dry may still need additional time before regular handling and kitchen use.
Ignoring Damaged Cabinet Material
Paint cannot repair swollen particleboard, failing laminate, or serious structural damage.
Treating Every Cabinet Material the Same
Wood, MDF, laminate, thermofoil, and previously painted cabinets may require different preparation and coating strategies.
Skipping a Test Area
Testing the complete coating system in a less noticeable area can help reveal adhesion or appearance problems before you commit to the whole kitchen.
Should You Refinish, Reface, or Replace Kitchen Cabinets?
The right choice depends on the condition of the cabinetry and what you want to change.
| Option | Best when | Main advantage |
|---|---|---|
| Refinish | Cabinets are structurally sound but look dated | Updates the appearance while keeping the existing cabinetry |
| Reface | Cabinet boxes are good but doors and visible surfaces need a major update | Creates a more substantial visual change without replacing the boxes |
| Replace | Cabinets are damaged, poorly laid out, or no longer meet your needs | Allows structural and layout changes |
Refinishing is primarily a surface update. Refacing changes the visible cabinet components while keeping the existing cabinet structure. Replacement allows you to address problems with the cabinetry itself and potentially change the kitchen layout.
If your layout already works and the cabinet boxes are healthy, refinishing may be the simplest approach.
If the cabinet boxes are solid but the doors are badly damaged or you want a substantially different door style, refacing may be worth considering.
If the layout itself is the problem, a new finish will not solve it.
How to Make Refinished Cabinets Look More Updated

Cabinet refinishing does not have to be the only improvement you make.
Once the cabinets are finished, consider how the rest of the kitchen works with them. Coordinated hardware, improved lighting, and better organization can make the finished space feel more intentional without turning the project into a full renovation.
If your goal is simply to make old kitchen cabinets look modern, refinishing can be combined with other smaller updates rather than replacing the entire kitchen.
For example, changing cabinet hardware can create a noticeable visual difference, while better storage can make the kitchen feel cleaner and more functional.
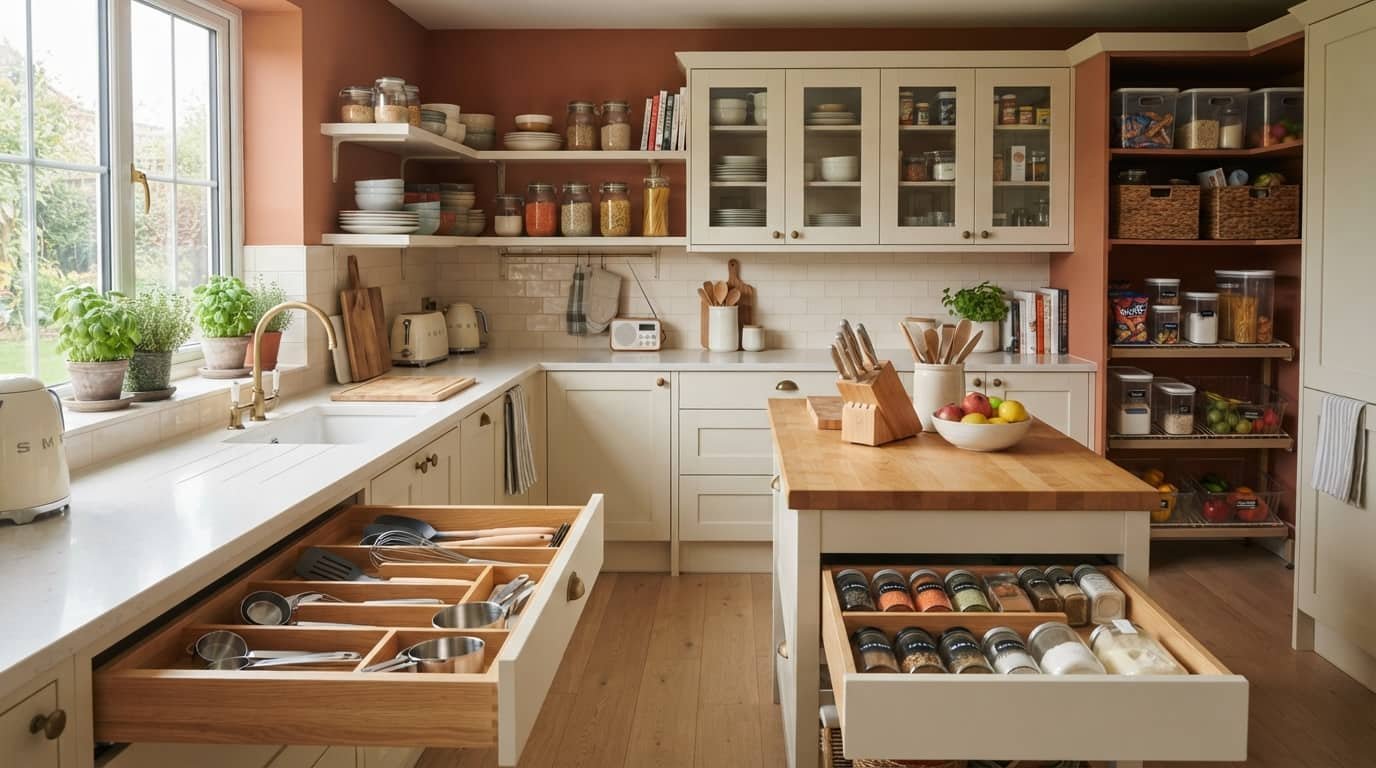
If clutter is making your newly refinished cabinets less effective, consider improving your storage setup with practical kitchen organization products.
For a smaller kitchen, refinishing can also work alongside other small kitchen decor ideas to create a more cohesive result.
Frequently Asked Questions
How long does kitchen cabinet refinishing take?
The timeline depends on the number of doors and drawers, cabinet condition, preparation required, coating system, application method, and product-specific drying and curing requirements.
The actual application may not take as long as expected, but cleaning, preparation, multiple coats, and waiting between coats can extend the project over several days or longer.
Is it better to paint or stain kitchen cabinets?
It depends on the cabinet material and the appearance you want.
Paint is useful when you want to significantly change the cabinet color or create a uniform finish. Staining is generally more appropriate when you have a suitable wood surface and want to preserve or emphasize its natural grain.
Do kitchen cabinets need to be sanded before refinishing?
Some form of surface preparation is often necessary, but the amount depends on the existing finish, cabinet material, and coating system.
Some products are designed for specific surfaces with reduced sanding requirements, while glossy or poorly adhering surfaces may require more preparation. Always follow the manufacturer’s instructions for the products you choose.
Can laminate kitchen cabinets be refinished?
Laminate cabinets can sometimes be painted, but they require careful preparation and a compatible bonding primer.
If the laminate is peeling, bubbling, or separating from the substrate, applying a new coating may not provide a durable solution.
Can I refinish cabinets without removing the doors?
You can work on some cabinet frames in place, but removing doors and hardware generally makes it easier to prepare and finish surfaces evenly.
It also reduces the risk of accidentally getting primer or coating on hinges, countertops, appliances, or surrounding surfaces.
Should I refinish kitchen cabinets myself or hire a professional?
DIY kitchen cabinet refinishing can make sense if you have enough time, suitable workspace, patience, and confidence with detailed preparation.
Professional help may be worthwhile when the kitchen is large, the finish needs to be highly uniform, the surfaces require extensive repair, or you encounter difficult materials or lead-paint concerns.
For homes built before 1978, take lead safety seriously before disturbing old painted surfaces. Follow applicable EPA lead-safe requirements and consider a certified professional when appropriate.
Final Checklist for Kitchen Cabinet Refinishing
Before you consider the project complete, check that you have:
- Inspected the cabinet boxes and doors.
- Identified the cabinet material.
- Chosen painting or traditional refinishing based on the surface and desired result.
- Removed and labeled doors and hardware.
- Thoroughly cleaned and degreased the surfaces.
- Prepared the surface appropriately.
- Used a compatible primer where required.
- Applied thin, even finish coats.
- Followed product-specific recoat and curing instructions.
- Allowed the finish to cure before heavy use.
- Reinstalled doors and hardware carefully.
- Addressed any remaining structural or surface problems.
Conclusion
Kitchen cabinet refinishing can be a practical way to refresh a dated kitchen when the existing cabinetry is still structurally sound.
The difference between a rushed makeover and a durable-looking result often comes down to preparation. Inspect the cabinets, identify the material, choose the right refinishing method, remove and label the doors, clean away grease, prepare the surface correctly, use compatible primer and finish products, and give every coat enough time to dry and cure.
Most importantly, do not assume refinishing is the right answer for every kitchen. If the cabinet structure is damaged or the layout no longer works, refacing or replacement may make more sense.
For sound cabinets that mainly need a cosmetic update, however, careful refinishing can significantly change the appearance of your kitchen without starting over from scratch.
Related resource: Under Sink Organizer Kitchen: 15 Best Ideas You’ll Love