Split Level House Remodel Kitchen
A dated or cramped kitchen can make your entire split-level home feel awkward and difficult to use. Limited storage, poor lighting, and tight walkways can turn simple cooking into a daily frustration.
A well-planned split level house remodel kitchen can change that without stripping away your home’s character. The right improvements can open sightlines, create better storage, improve lighting, and make the kitchen work naturally with the rooms around it. In this guide, you’ll discover nine practical ideas for U.S. homeowners, along with real examples, common mistakes, cost considerations, and planning tips that can help you avoid expensive remodeling regrets.
1. Open Up the Kitchen Without Losing Its Character
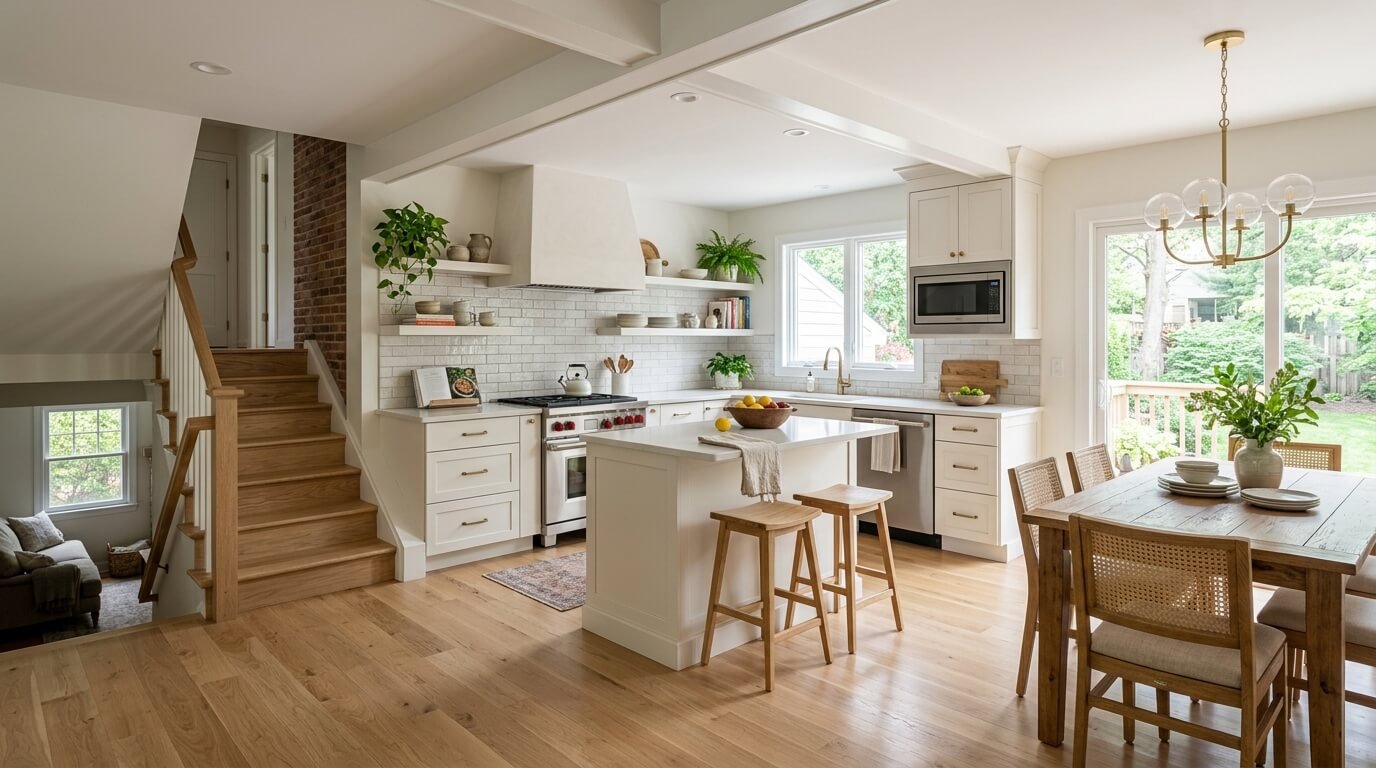
One of the biggest advantages of remodeling a split-level kitchen is the opportunity to improve how the spaces connect. Many older split-level homes have kitchens separated from dining or living areas by walls, narrow doorways, or awkward openings. Removing the right barrier can make the kitchen feel larger and bring more natural light into the space.
However, completely removing a wall isn’t always necessary. A wide cased opening, partial wall, or pass-through can provide much of the same visual connection while keeping some separation. For example, imagine a 1970s split-level home with a Small Kitchen beside the dining room. Opening two-thirds of the wall could connect the rooms while leaving enough space for cabinets or a serving counter. Before removing anything, have a qualified professional determine whether the wall is load-bearing or contains plumbing, wiring, or HVAC components.
When Should You Open a Split-Level Kitchen?
Opening the kitchen makes sense when walls block conversation, daylight, or natural movement. It may not be the best choice if the kitchen is already noisy, cluttered, or poorly ventilated. In that case, removing a wall could simply spread those problems throughout the main living area.
A useful test is to mark the proposed opening with painter’s tape. Leave it in place for several days and watch how you move through the room. If the opening improves sightlines without creating a new traffic problem, you’re probably moving in the right direction. This simple test costs almost nothing and can prevent a very expensive mistake.
2. Plan a Split Level Kitchen Remodel Around Your Floor Plan
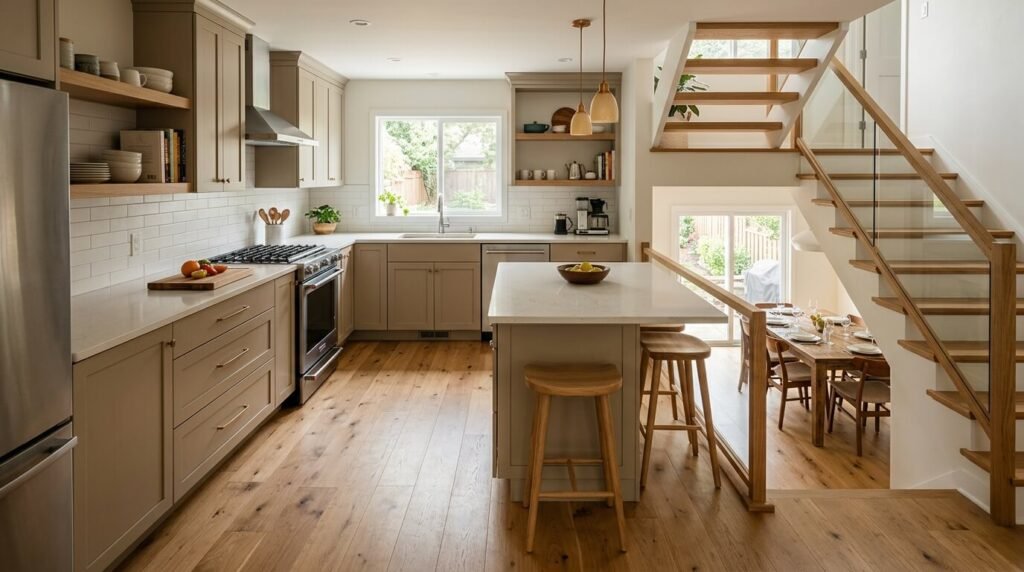
A beautiful kitchen won’t feel successful if the layout works against you. Split-level homes often have unusual traffic patterns because stairs, hallways, doors, and changes in elevation compete for the same space. Your refrigerator may sit beside a busy walkway while the dishwasher blocks a cabinet door when opened.
Instead of designing around a trend, design around your daily routine. Think about where you enter with groceries, where you prepare food, where dirty dishes go, and how family members move between the kitchen and other rooms. Modern kitchen planning often focuses on separate work zones rather than relying only on the traditional work triangle. That approach can make a split level kitchen remodel much easier to use when several people are moving around at once.
Choose a Layout That Fits the Room
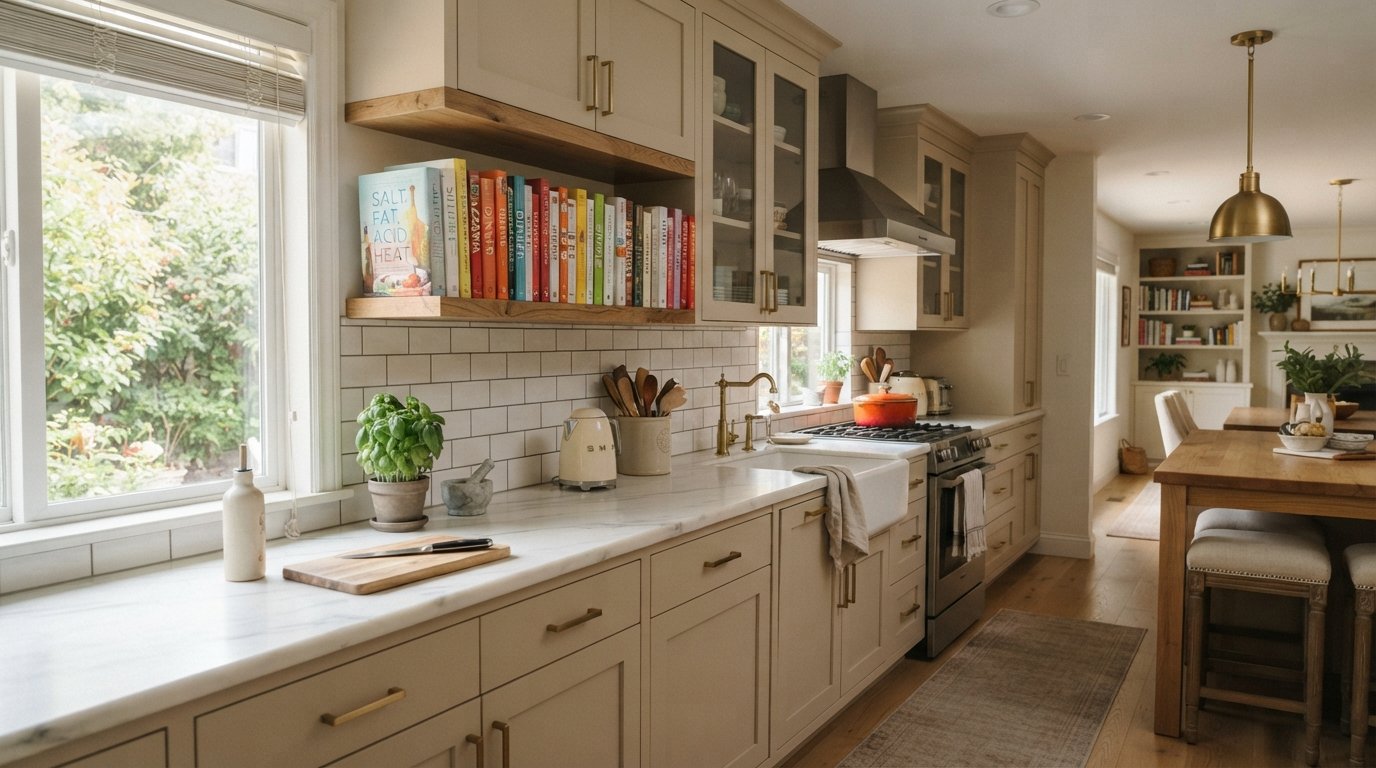
An L-shaped layout can work well when you want an open feel and flexible circulation. A U-shaped kitchen offers excellent storage and counter space but may feel enclosed in a smaller room. A galley layout can be efficient in a narrow footprint, while a peninsula can provide seating without consuming the center of the kitchen.
| Layout | Best use | Main concern |
|---|---|---|
| L-shaped | Open and flexible kitchens | Corner storage |
| U-shaped | Maximum counter space | Can feel enclosed |
| Galley | Narrow kitchens | Passing traffic |
| Island | Larger kitchens | Requires good clearance |
| Peninsula | Compact kitchens | Can restrict movement |
Here’s a real-world example. Suppose your stairs lead directly toward the refrigerator. Installing a large island between them may look attractive, but it could force everyone carrying groceries to walk through the cooking area. A smaller peninsula might give you seating and storage while keeping that main route clear. That’s the kind of decision that makes a remodel feel effortless once it’s finished.
3. Add an Island or Peninsula That Earns Its Space
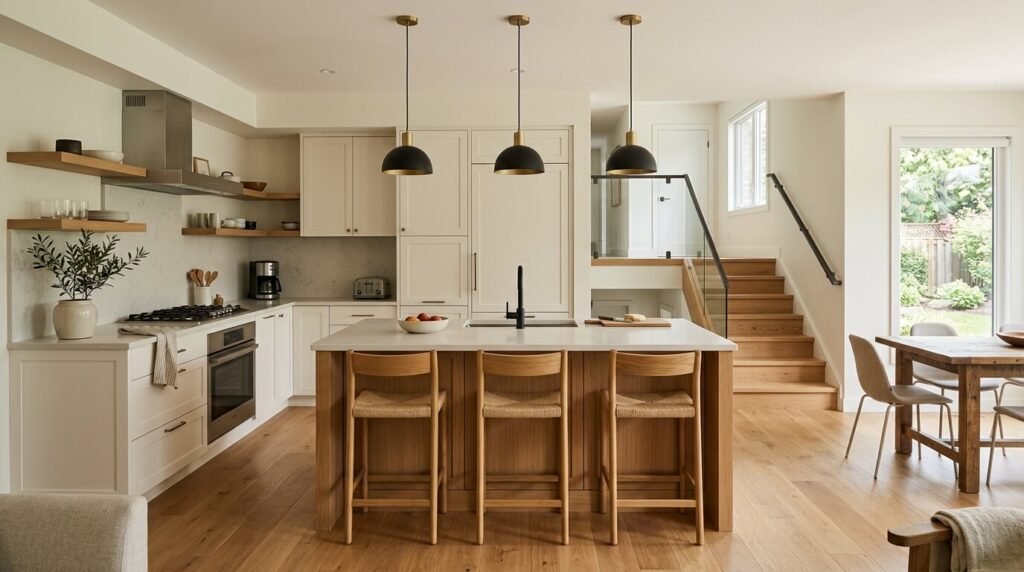
An island should solve a problem rather than simply fill an empty section of floor. In a well-designed kitchen, it can provide food preparation space, storage, seating, electrical outlets, or a convenient location for everyday appliances. It can also become the natural meeting point between the kitchen and adjacent living areas.
Still, bigger isn’t automatically better. An oversized island can make a split-level kitchen feel tighter and create bottlenecks around the refrigerator, oven, or stairs. If your kitchen has limited floor space, a peninsula may be the smarter option because it attaches to an existing wall or cabinet run. You get many of the benefits of an island without sacrificing the center of the room.
Island or Peninsula: Which One Should You Choose?
Choose an island when you can maintain comfortable walking space around it. Choose a peninsula when one side of the kitchen already borders cabinets or a wall. Your decision should come from circulation, not from what looks impressive in a remodeling magazine.
Before ordering anything, tape the proposed footprint onto your floor. Include the seating area and imagine appliance doors opening nearby. Walk from the stairs to the refrigerator and from the refrigerator to the sink. If you keep bumping into the imaginary island, you’ve found the problem before spending thousands of dollars.
4. Use Layered Lighting to Make the Kitchen Feel Larger
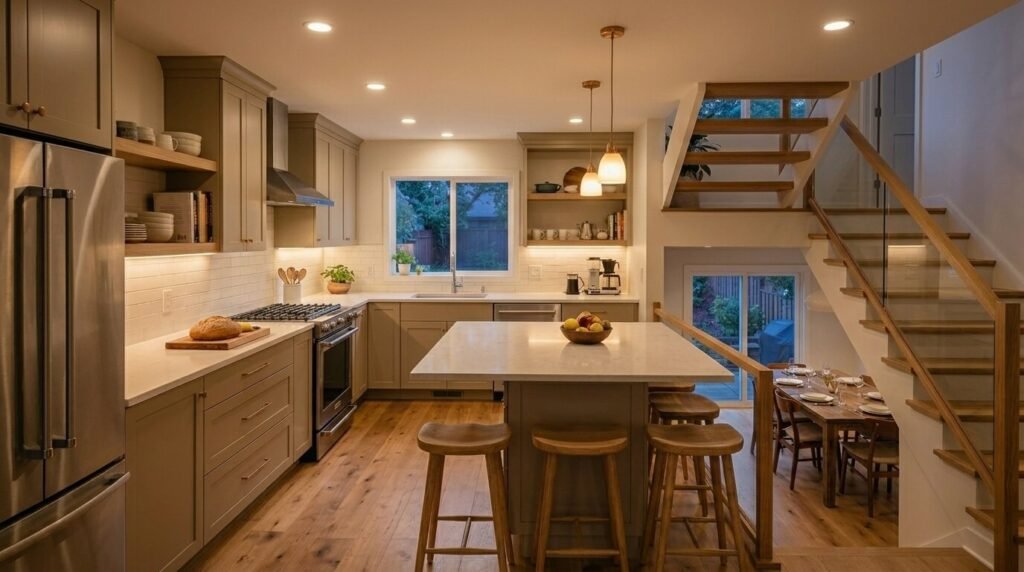
Lighting can completely change how a split-level kitchen feels. This matters even more when the kitchen sits away from large windows or receives limited daylight because of the home’s layout. A dark kitchen can appear smaller, while thoughtful lighting can make the same footprint feel brighter and more welcoming.
Instead of relying on one ceiling fixture, use several layers. Ambient lighting provides general brightness, task lighting illuminates work surfaces, and accent lighting adds depth. Under-cabinet LEDs can brighten countertops, while pendant fixtures can define an island or peninsula. Dimmers give you another advantage because the lighting can change from bright morning prep to a softer evening setting.
Brighten Dark Areas Without Adding Windows
You don’t always need structural work to improve a dark kitchen. Under-cabinet lighting, lighter surfaces, reflective backsplash materials, and strategically positioned fixtures can make a noticeable difference. Think of task lighting as putting a small spotlight exactly where your hands need it.
A common mistake is installing several powerful ceiling lights and assuming the job is finished. You can still end up standing in your own shadow while chopping vegetables. Instead, place lighting according to the work you actually do. The sink, countertops, stove area, and pantry entrance should all receive useful illumination.
5. Maximize Storage Without Making the Kitchen Feel Heavy
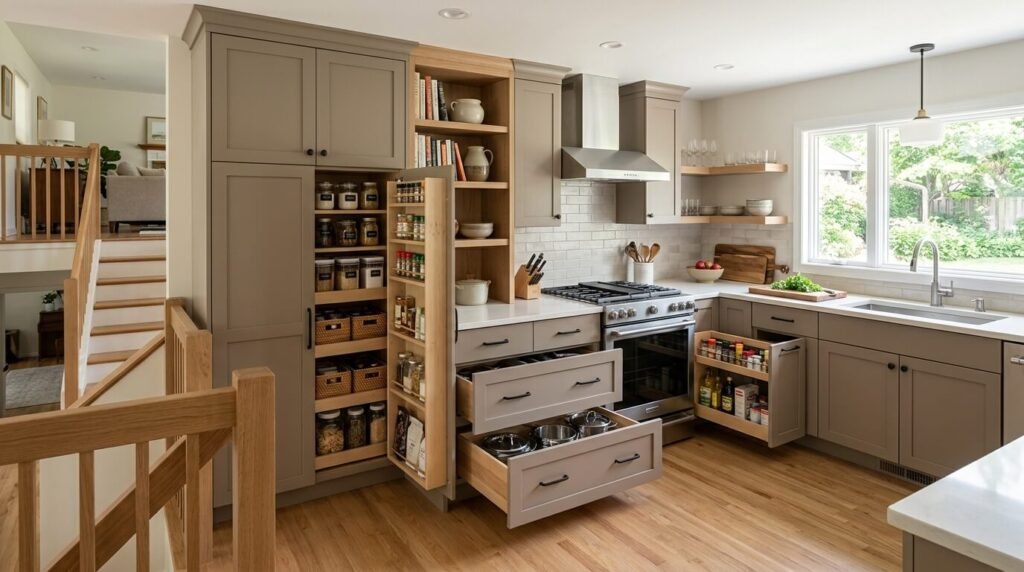
Storage becomes especially important when a split-level kitchen has a compact footprint. Fortunately, you can gain useful capacity without filling every wall with cabinets. Full-height cabinets can take advantage of vertical space, while deep drawers often make pots and pans easier to access than traditional lower cabinets.
Look closely at awkward corners and narrow gaps. A pull-out pantry can turn a small opening into useful food storage. Vertical dividers can handle baking sheets and cutting boards. Drawers near the dishwasher can hold everyday dishes. These small decisions matter because storage works best when it follows your routine rather than simply maximizing cabinet volume.
Smart Storage for Awkward Spaces
Consider a homeowner with a narrow cabinet beside the refrigerator. Instead of leaving that space underused, a slim pull-out unit could hold spices, oils, or pantry items. Another homeowner might use a tall cabinet near the ceiling for appliances that only come out during holidays.
The common mistake is adding cabinets everywhere and leaving too little usable counter space. More storage isn’t automatically better. Keep frequently used items close to their work zones and move rarely used equipment farther away. Your goal is to reduce reaching, searching, and unnecessary walking.
6. Choose Colors and Materials That Make the Kitchen Feel Bigger
The right finishes can change the visual weight of a kitchen without changing its dimensions. Light cabinetry can reflect available daylight, while warm wood can add character without making the space feel dark. Soft neutral walls can also help the kitchen transition smoothly into nearby dining and living areas.
That doesn’t mean you need an all-white kitchen. A combination of warm white cabinets, natural wood, and a restrained backsplash can create a balanced look. Transitional design can work especially well in older split-level homes because it allows modern features to coexist with traditional architectural details.
Should You Choose Light or Dark Finishes?
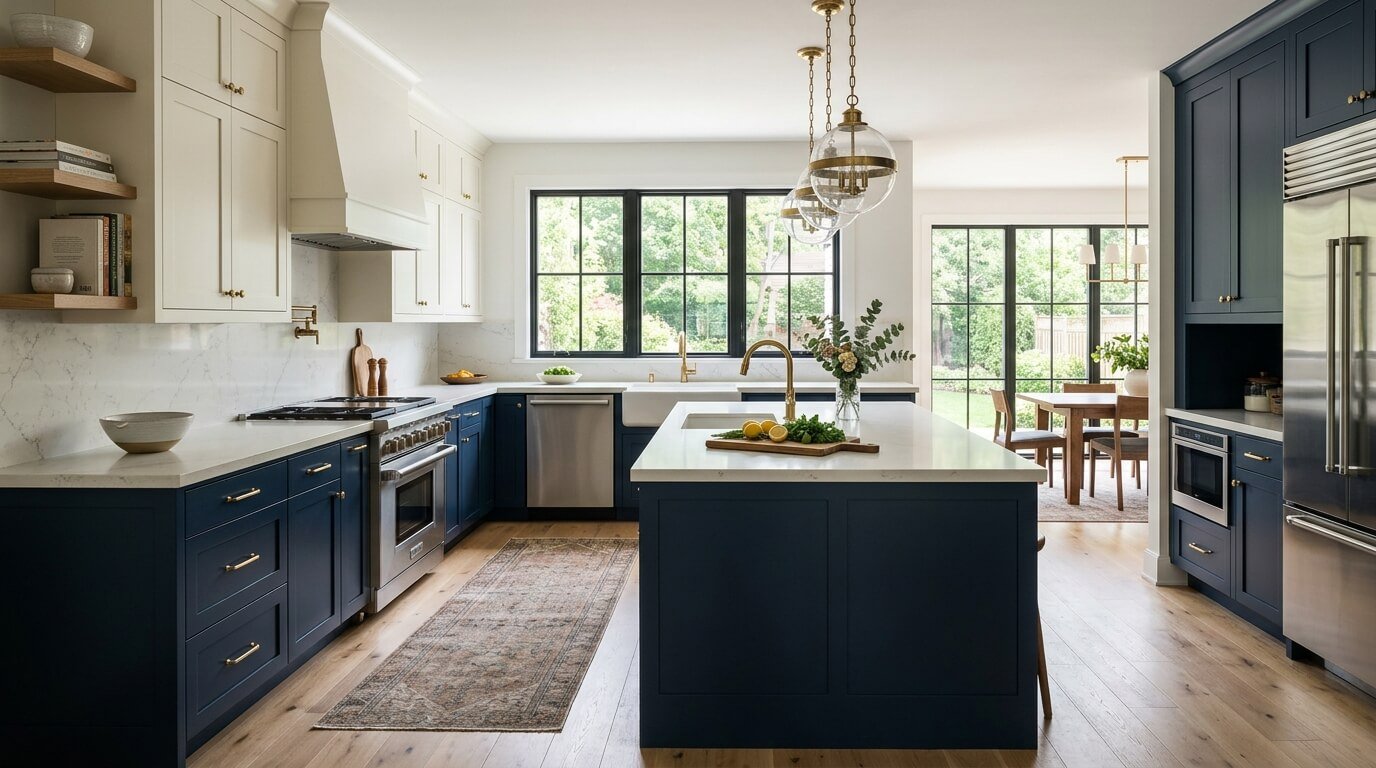
Light finishes generally work well when the kitchen has limited natural light. Dark cabinets can look excellent in a bright kitchen where there is enough visual contrast. The key is balance rather than following a single trend.
For example, you might choose warm white upper cabinets with medium-tone wood or darker lower cabinets. This gives the room depth without making every surface compete for attention. A beginner mistake is combining too many colors, wood tones, metals, and countertop patterns. Choose a small group of finishes and repeat them throughout the connected spaces.
7. Use Flooring to Connect Different Levels
Flooring can quietly determine whether your kitchen feels connected to the rest of the house. When practical, continuing a similar flooring material into an adjoining dining or living area can create visual continuity. Your eye reads the uninterrupted surface as one larger zone, even when the architecture remains divided.
However, you shouldn’t choose flooring based only on appearance. Consider moisture, foot traffic, maintenance, pets, children, and the existing floors around the kitchen. Engineered wood, luxury vinyl, hardwood, and tile can each work in different situations. The right material depends on the home and how you use it.
How Flooring Can Improve Visual Flow
Imagine walking from your kitchen into the dining area. If the floor suddenly changes color and pattern at the doorway, the rooms can feel more separate. A coordinated floor can create a smoother transition and make the entire level feel more cohesive.
Don’t forget the stairs. A beautiful new kitchen floor can look disconnected if it meets old stair flooring awkwardly. Look at the kitchen, hallway, dining space, and stairs as one visual system before making your final flooring decision.
8. Upgrade Functionality, Ventilation, and Energy Efficiency
A successful remodel should improve more than appearance. Better ventilation, efficient appliances, improved electrical capacity, modern lighting, and convenient outlets can make the kitchen more comfortable every day. These upgrades may not be as glamorous as a new countertop, but you’ll notice them far more often.
Ventilation deserves special attention when you open the kitchen. Cooking creates heat, moisture, smoke, and odors. If the kitchen becomes more connected to the living area, those byproducts can travel farther. A properly planned range hood and exhaust system can help protect indoor air quality and reduce lingering cooking odors. Electrical and mechanical changes should be planned with qualified professionals and local requirements in mind.
Which Upgrades Deserve More of Your Budget?
Spend carefully on work that’s difficult to change later. Electrical wiring, plumbing, ventilation, cabinet installation, and structural modifications deserve serious planning. Decorative hardware and accessories are easier to replace if your budget becomes tight.
For example, choosing a less expensive cabinet handle won’t create a major problem five years from now. Poorly planned electrical outlets can. The same principle applies to ventilation and plumbing. Save where replacement is easy and invest where future changes would mean opening walls or removing cabinets.
9. Blend the Kitchen With the Rest of Your Home
A remodeled kitchen should feel like part of the house rather than a showroom dropped into it. This is especially important in older split-level homes, where stair railings, wood trim, flooring, and architectural details may give the house its personality.
You don’t need to preserve every outdated feature. Instead, find a few elements worth carrying forward. If the staircase has warm wood, you might repeat that tone through an island or open shelving. If the rest of the main level uses brushed metal hardware, similar hardware can make the remodeled kitchen feel more connected.
Make the New Kitchen Feel Original
Start by looking at the rooms around the kitchen before choosing finishes. Notice the wood tones, door styles, trim, flooring, and wall colors. Then select modern materials that complement those features rather than fighting them.
A common mistake is copying a kitchen from a completely different type of home. A huge contemporary island may look fantastic online but feel out of place in a modest split-level house. Borrow useful ideas from inspiration photos, then adapt them to your home’s proportions and architecture.
How Much Does a Split-Level Kitchen Remodel Cost?
The cost of a kitchen remodel for a split-level home depends heavily on the scope of work. Replacing cabinet hardware and lighting is very different from moving plumbing, removing walls, upgrading electrical systems, and installing new cabinetry. Local labor rates and material choices also have a major impact.
Recent U.S. remodeling data from Houzz provides a useful benchmark. Its 2026 kitchen study reported a median spend of $55,000 for major kitchen renovations. Smaller kitchens had a median major-remodel spend of $46,000, while larger kitchens reached $75,000. These are national benchmarks rather than personal estimates, so your project can land significantly higher or lower depending on its scope and location.
| Remodel type | Typical scope | Relative cost |
|---|---|---|
| Cosmetic update | Paint, lighting, hardware, minor finishes | Lower |
| Partial remodel | Selected cabinets, counters, fixtures | Moderate |
| Major remodel | Cabinets, appliances, counters, finishes | High |
| Layout renovation | Plumbing, electrical, appliance relocation | Higher |
| Structural renovation | Wall removal and major changes | Highest |
One of the easiest ways to control costs is to avoid unnecessary changes. Keeping plumbing near its existing location can reduce labor. Refinishing usable cabinets can free money for better lighting or countertops. However, don’t cut corners on structural, electrical, plumbing, or ventilation work. Those savings can become expensive repairs later.
Common Split-Level Kitchen Remodeling Mistakes
Many remodeling problems start before construction begins. Homeowners sometimes select cabinets before confirming appliance dimensions. Others choose an oversized island without studying traffic patterns. Some spend most of their budget on finishes while leaving little room for electrical or ventilation upgrades.
Split-level homes have another challenge that deserves attention: circulation. The path between the stairs, kitchen, dining room, and refrigerator may become one of the busiest routes in the house. A beautiful kitchen can still be frustrating if everyone has to cross the cooking zone to move through the home.
Before construction, test your proposed layout in real life. Carry grocery bags through the room. Open the refrigerator while someone stands at the sink. Imagine unloading the dishwasher while another person prepares dinner. These simple tests reveal problems that a polished floor plan may hide.
A Step-by-Step Plan for Remodeling a Split-Level Kitchen
Start with accurate measurements. Record windows, doors, stairs, appliances, ceiling heights, outlets, plumbing connections, and major walkways. Then identify the problems you want the remodel to solve. Maybe the kitchen needs more storage. Perhaps the layout blocks traffic. You may simply need better lighting and a stronger connection to the dining room.
Once the problems are clear, create the layout before choosing decorative finishes. Confirm appliance dimensions early. Review structural changes with the appropriate professional. Then coordinate electrical, plumbing, ventilation, cabinets, countertops, flooring, and finishing materials. Check local requirements before starting work that may require permits or inspections.
A Simple Pro Tip That Can Save You Thousands
Use painter’s tape to create a full-size mockup of your proposed cabinets and island. Mark appliance doors and major walking paths too. Then live with the layout for a few days.
This works because measurements on paper don’t always reveal how a room feels. You might discover that an island blocks a pantry door or that a refrigerator sits too close to the main walkway. Finding that problem with tape is much cheaper than finding it after installation.
Real-World Split-Level Kitchen Examples
Consider a small 1970s split-level home with dark cabinets, weak overhead lighting, and a narrow kitchen entrance. The homeowner doesn’t necessarily need an addition. A peninsula could replace an inefficient cabinet arrangement, while lighter finishes and under-cabinet lighting could improve the sense of space. Keeping the existing plumbing location could also help control the budget.
Now imagine a closed kitchen beside a dining room. Instead of removing the entire dividing wall, the homeowner could create a wide opening while retaining enough wall space for cabinets. This would improve sightlines without making the kitchen completely exposed. It’s a useful compromise for families who want connection but don’t want every countertop mess visible from the dining table.
A larger split-level kitchen may have room for a genuine island. In that case, the island can combine seating, preparation space, drawers, outlets, and everyday storage. The perimeter can handle the refrigerator, sink, range, and tall cabinets. Here, the island becomes a working hub rather than a decorative centerpiece.
Is a Split-Level Kitchen Remodel Worth It?
A remodel can make sense when the existing kitchen creates problems that cosmetic changes can’t solve. Poor storage, inefficient circulation, weak lighting, outdated systems, and a disconnected layout can all justify a larger renovation. If the cabinets remain solid and the layout already works, however, a smaller refresh may deliver better value.
Think about how you use the kitchen every day. If you constantly walk around an obstacle, search for missing storage, or work in poor light, those problems matter more than a trendy backsplash. The best split level kitchen ideas solve real frustrations first. Style should support the function rather than replace it.
Frequently Asked Questions About Split-Level Kitchen Remodeling
Can You Open Up a Split-Level Kitchen?
Yes, but the wall needs proper evaluation first. A structural wall may require a beam or other support if removed. Plumbing, wiring, and HVAC components can also affect the project. Local building requirements may apply as well.
How Much Does a Split-Level Kitchen Remodel Cost?
Costs vary widely based on the project’s scope. A cosmetic update can cost far less than a major renovation involving new cabinets, relocated plumbing, electrical work, and structural changes. Recent Houzz research places the median major U.S. kitchen remodel at $55,000, but your local project may differ considerably.
Is an Island a Good Idea in a Split-Level Kitchen?
An island works well when the room has enough clearance for comfortable movement. If the island blocks the stairs, refrigerator, or primary cooking route, a peninsula or smaller island may be a better choice.
How Can You Make a Split-Level Kitchen Look Bigger?
Focus on lighting, sightlines, visual continuity, and smart storage. Light finishes can help, but they aren’t your only option. Consistent flooring and fewer visual barriers can also make the room feel noticeably more spacious.
Should Kitchen Flooring Match the Rest of the House?
It doesn’t have to match exactly. Coordinating materials and tones can create better visual flow, especially between the kitchen and dining area. Different materials can also work when they transition cleanly and serve a practical purpose.
What Is the Biggest Split-Level Kitchen Remodeling Mistake?
Poor planning is one of the most costly mistakes. Choosing finishes before solving the layout can leave you with an attractive kitchen that still doesn’t work properly. Test the traffic flow before committing to construction.
Final Thoughts
The best split level house remodel kitchen isn’t necessarily the biggest or most expensive one. It’s the remodel that makes your home easier to live in. Better circulation, smarter storage, stronger lighting, useful work zones, and thoughtful connections between rooms can completely change how the space feels.
Before you start demolition, measure everything and test your proposed layout. Mark the island with tape. Walk the busiest routes. Confirm appliance sizes. Review structural and local requirements. Then get detailed estimates from qualified professionals.
Your next step is simple: sketch your existing kitchen and mark the stairs, doors, windows, appliances, and main walking paths. Compare that drawing with these nine ideas. You’ll quickly see which changes solve your home’s real problems and which ones are simply attractive extras.
For more practical home improvement ideas, visit HomeFocuse.
Related resources: How to Make Old Kitchen Cabinets Look Modern: 11 Ways ·
Two-Tone Kitchen Cabinets: The Best Color Combinations to Consider for 2026