How to Paint a Room Like a Pro
Learning how to paint a room like a pro comes down to a handful of habits, not expensive gear. Most DIY paint jobs look fine from across the room. Step closer, though, and the problems show up: a faint line where yesterday’s paint met today’s, a patch of wall that looks duller than the rest, roller texture that catches the light at certain angles. None of these happen because the painter used cheap paint. They happen because of the order things were done and how the paint was applied — not what tools were sitting in the tray.
This guide walks through the exact process professional painters follow, including the parts that get left out of most “quick tips” lists. Whether you’re refreshing a bedroom or repainting a small office over a weekend, the same techniques apply.
Key Takeaways
- How much paint and which tools you actually need, with a simple way to calculate it
- The order professionals paint in, and why it matters
- Three techniques that prevent most of the mistakes that make a paint job look amateur
- How to spot and fix the most common finish problems
- A realistic time and cost estimate, including when hiring a painter makes more sense than DIY
What You’ll Need: Tools and Supplies
You don’t need a professional’s full kit, but a few items make a bigger difference than people expect.
The basics:
- Drop cloths (canvas holds up better than plastic and won’t slide around underfoot)
- Painter’s tape
- 2-inch angled sash brush
- Paint roller, frame, and an extension pole
- Paint tray with a liner
- Putty knife and spackle
- 220-grit sandpaper
- Stir stick
- A handheld paint pail, if you’re doing a lot of cutting in
Where people cut corners they shouldn’t: the roller cover. A thin, cheap roller lays down paint unevenly and leaves visible texture once it dries. Roller nap length should match your wall surface — a 3/8-inch nap works for smooth drywall, while textured or lightly rough walls need a 1/2-inch or thicker nap to actually get into the surface. Using a smooth-wall roller on a textured wall is a common reason painters end up with patchy, thin-looking coverage that needs a third coat.
If you’re painting an empty room with no furniture to work around — say, a new office space before desks move in — a paint sprayer can save real time. For anything with furniture, trim, and corners, stick with a brush and roller; sprayers require masking off everything nearby, which usually eats up any time you’d save.
How Much Paint Do You Actually Need?
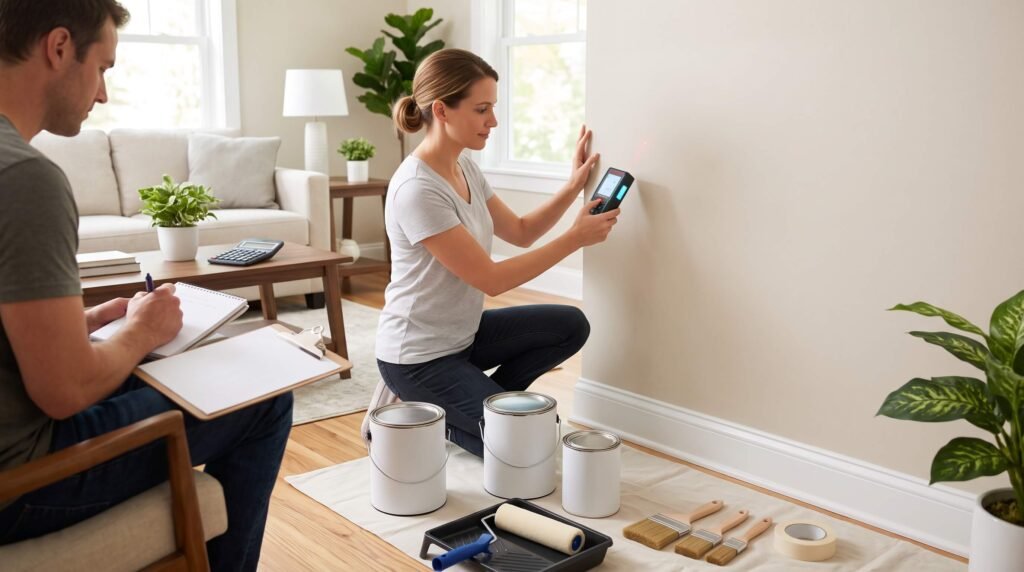
Buying paint by guesswork is how people end up with three half-used gallons in the garage, or run out mid-wall and have to stop and drive to the store with wet paint drying unevenly behind them.
Here’s the formula:
(Total wall area − door and window area) ÷ paint coverage rate = gallons needed
Most paint covers 350–400 square feet per gallon on a smooth wall, though textured or unprimed surfaces will pull that number down.
Example: A bedroom with four walls, each roughly 10 feet wide and 9 feet tall, gives you 360 square feet of wall area. Subtract about 40 square feet for two windows and a door, and you’re left with 320 square feet. At 350 square feet per gallon, one gallon covers that with a little room to spare for touch-ups — though most painters still plan for two coats, which means buying paint for the full 320 square feet twice.
If your project needs more than one gallon of the same color, mix the cans in a single larger bucket before you start — painters call this “boxing” the paint. Two gallons from the same store, mixed on the same day, can still have slight tint variation between cans. If you paint half the room with can one and switch to can two partway through a wall, that variation can show up as a faint line once it dries. Boxing eliminates that risk.
Choosing the Right Paint and Sheen
Paint type: For interior walls, water-based acrylic latex is the standard choice — it dries faster, cleans up with soap and water, and has largely replaced oil-based paint for walls (oil-based is still common for trim and doors, where its harder, glossier finish holds up to more wear).
Testing color before you commit: Buy sample-size pots of your top choices and paint at least a 12×12-inch swatch directly on the wall not on poster board, since lighting reflects differently off the actual wall surface. Look at the swatches at different times of day. A color that looks warm and neutral under midday sun can turn noticeably pink or gray under evening lamp light.
Sheen comparison:
| Sheen | Durability | Cleanability | Best for |
|---|---|---|---|
| Flat | Low | Difficult to wipe clean | Ceilings |
| Matte | Moderate | Easy | Bedrooms, dining rooms, low-traffic walls |
| Eggshell | Moderate | Easy | Living rooms, general living spaces |
| Satin | High | Very easy | Hallways, kitchens, kids’ rooms |
| Semi-gloss | Very high | Excellent | Bathrooms, kitchens, trim |
| High-gloss | Highest | Excellent | Doors, cabinets, trim (shows every imperfection) |
One trade-off worth knowing: the higher the sheen, the more it reflects light which means it also shows every dent, patch, and roller mark more clearly. If your walls have a lot of old nail holes or texture that isn’t perfectly smooth, a flatter sheen will hide more than a shiny one will.
If you’re painting an occupied space, like a home office people will be sitting in while it airs out, look for low-VOC or zero-VOC paint. Most major paint brands now offer one at a similar price point, and it cuts down on the strong smell and off-gassing in the days after painting.
Preparing the Room
Skipping prep is the single most common reason a paint job looks worse than expected, regardless of how carefully the actual painting was done.
- Move furniture to the center of the room or out entirely, and cover anything that stays with a drop cloth.
- Remove outlet covers and switch plates with a screwdriver — keep the screws in a small bag so they don’t disappear into the carpet.
- Fill nail holes and dings with spackle, let it dry fully, then sand smooth with 220-grit paper. Wipe away the dust with a damp cloth before moving on paint applied over dust won’t adhere properly and can bubble later.
- Wipe down the walls generally, especially any spots with visible grease or dirt buildup (common near light switches and doorframes from repeated hand contact).
- Lay drop cloths across the entire floor, not just along the edges near the walls.
Do you need primer? Not always. If you’re repainting a similar or lighter color over an already-painted wall in decent shape, most modern “paint and primer in one” formulas handle it fine. You do need a separate primer coat if you’re covering a dark color with a light one, painting new drywall, or covering stains and odors — a stain-blocking, shellac-based primer is the standard choice for that last scenario.
Taping and Protecting Edges
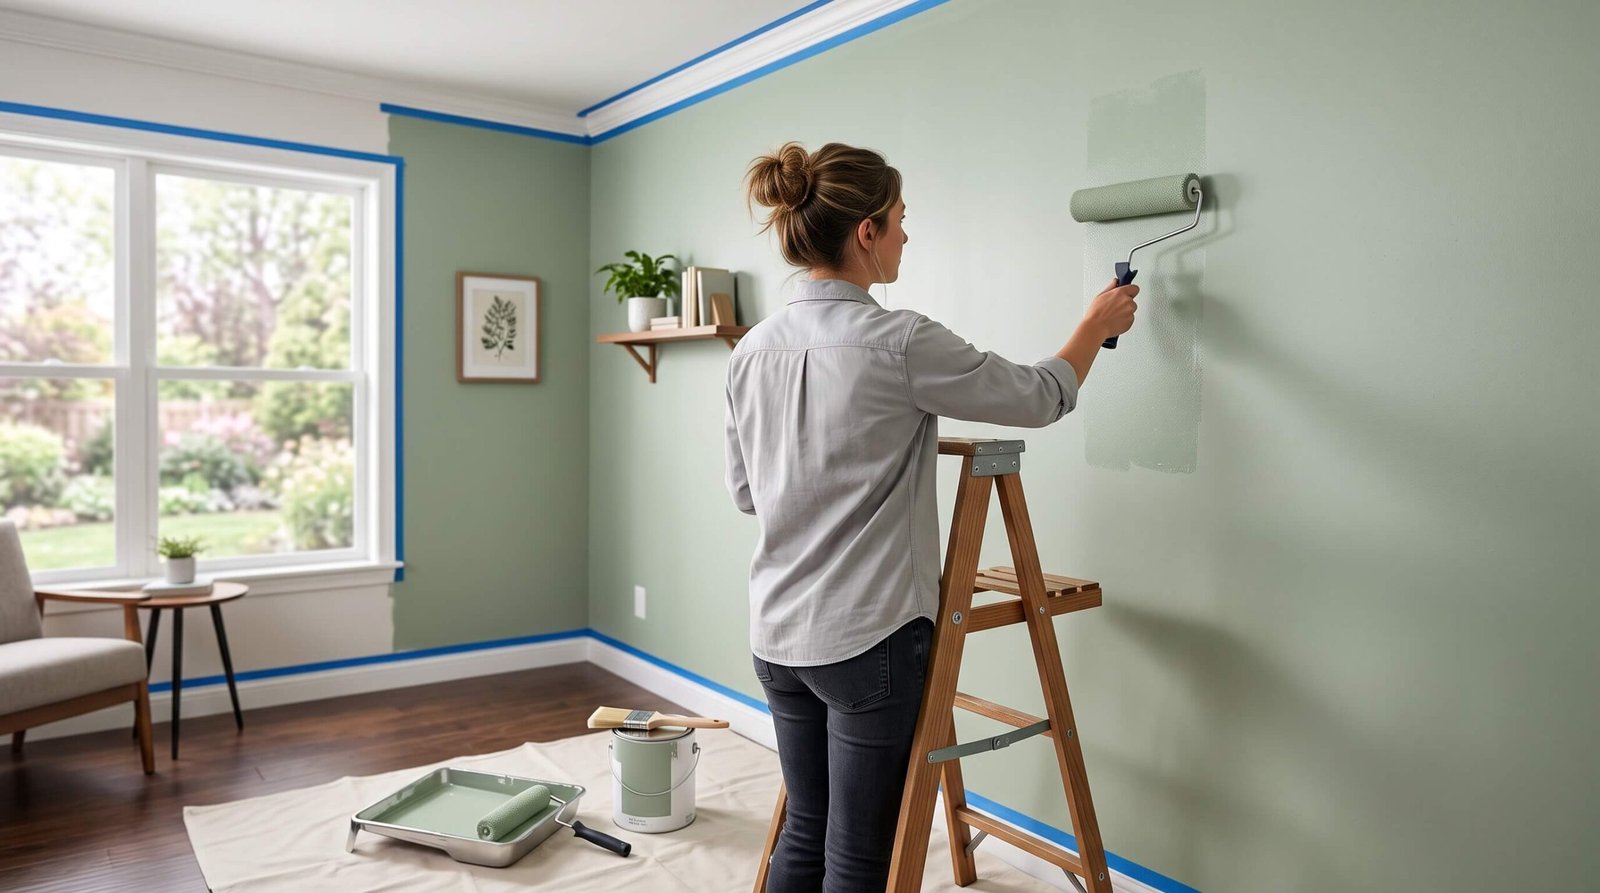
Apply painter’s tape in short sections about 3 to 4 feet at a time along baseboards, trim, ceiling lines, and any wall the room’s new color won’t touch. Press it down firmly with your finger or a putty knife edge so paint can’t seep underneath.
The part people get wrong: waiting until the paint is fully dry to remove the tape. If you wait, dried paint can bond across the tape edge, and pulling it up tears a jagged line out of your fresh paint along with it. Pull tape while the paint is still wet, ideally right after you finish that section at a slow 45-degree angle back on itself.
The Techniques That Actually Make the Difference
This is where a “pro” result and a decent DIY attempt usually split apart. The steps are the same; these details are what change the outcome.
Maintain a wet edge. Paint dries from the outside in. If you cut in an entire room’s edges first and then come back an hour later to roll the walls, the cut-in paint has already started to dry and where the dry edge meets the fresh roller paint, you get a visible line once everything cures. Professionals avoid this by working in sections: cut in a 3-4 foot stretch, then immediately roll that same section before moving to the next. That way the brushed edge and the rolled area blend while both are still wet.
Cut in with control, not speed. Load your angled brush, tap off the excess so it doesn’t drip, and paint a band roughly 2 inches wide along the taped edge. Keep your hand steady and let the brush do the work rather than pressing hard pressing too hard is what pushes paint under the tape edge.
Roll in a W or M pattern, then fill. Start with a light W or M shape across roughly a 3-foot section without lifting the roller, then go back and fill in the gaps with straight, overlapping strokes. This spreads the paint evenly before it has a chance to build up unevenly in one spot.
Back-roll to finish. After a section is filled in, make one final light pass with a nearly dry roller barely any pressure, just enough to smooth out the texture and blend any visible roller marks. This last pass is what gives a wall that flat, uniform look instead of a slightly stippled one.
How to Paint a Room Like a Pro: Step-by-Step Application
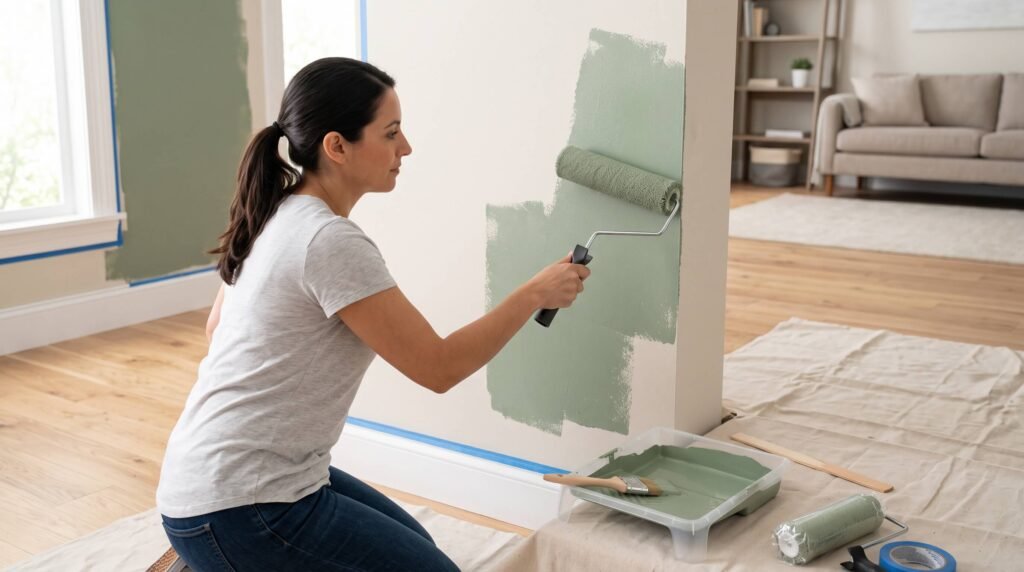
- Paint the ceiling first, if it needs it — drips are inevitable, and it’s easier to clean overspray off unpainted walls than to touch up a finished one.
- Paint trim and doors next, then let them dry before taping over them for the wall color.
- Stir the wall paint thoroughly for at least 60 seconds, even if it’s freshly mixed at the store.
- Work section by section: cut in a 3-4 foot stretch, roll that same stretch immediately, back-roll to finish, then move to the next section.
- Let the first coat dry fully — usually 2 to 4 hours, longer in a humid room like a bathroom — before applying a second coat.
- Apply the second coat using the same section-by-section method.
Most rooms need two coats for even, opaque coverage, even with a high-quality paint. A single coat can work if you’re painting a very similar color over an existing one, but check in bright daylight before deciding to skip the second pass — undercoat often shows through in ways that are hard to spot under indoor lighting.
Common Mistakes and How to Fix Them
Lap marks (visible overlapping lines): Caused by painting over a partially dried edge. Fix by working in smaller sections and keeping a wet edge, as described above. If it’s already dried, a light sanding and a full fresh coat across the whole wall is usually the only real fix.
Roller marks or stippled texture: Usually from skipping the back-roll step, or using a roller with too short a nap for the wall’s texture. Fix with a proper back-roll pass, or switch to a thicker nap.
Flashing (dull, flat patches over spackled areas): Happens when a patched spot isn’t primed before painting — the patch absorbs paint differently than the surrounding wall. Spot-prime patched areas next time; for an already-painted wall, a full coat usually evens it out.
Drips or paint pooling near edges: Caused by overloading the brush or roller. Load less paint per dip and tap off excess before applying.
Streaking on the first pass: From pressing too hard the moment the roller touches the wall. Start light, and apply more pressure only as you feel less paint transferring.
Ideal Conditions for Painting
Paint dries and cures best between roughly 50°F and 85°F, with moderate humidity. In a bathroom or a room with poor airflow, humidity slows drying significantly — plan for longer waits between coats, not just the label’s stated time. A box fan pointed away from the wet wall (never directly at it, which can cause uneven drying and texture) helps keep air moving without disturbing the fresh paint. If you’re using a low-VOC formula, open a window or run an air purifier for better ventilation while it airs out.
Cleanup and Finishing Touches
Once you’re done, rinse rollers and brushes under running water, working the paint out with your fingers or a brush comb tool until the water runs clear. Reattach outlet covers, switch plates, and hardware once the paint is fully dry — usually the next day, not the same afternoon. Move furniture back carefully; fresh paint can stay soft enough to mark for a few days even after it feels dry to the touch.
For leftover paint, don’t just toss the can in the trash. Most cities have a household hazardous waste program or a paint recycling drop-off point. You can also use PaintCare’s paint recycling locator to find participating paint recycling locations.
DIY vs. Hiring a Professional Painter
Painting costs vary by region, room condition, labor rates, and paint quality. Request local quotes for accurate pricing
| DIY | Professional | |
|---|---|---|
| Cost (average room) | Paint, tools, and supplies — often under $150–200 total | Labor plus materials, typically several times the DIY cost |
| Time | A full weekend for one room, including prep and dry time | Usually completed in a single day |
| Best for | Small rooms, flexible schedules, tight budgets | High ceilings, tight deadlines, multiple rooms at once, or an occupied business space that can’t be out of use for a weekend |
For a single bedroom with a normal ceiling height, DIY is usually the more practical choice. For a small business repainting an office before a specific opening date, or a space with 12-foot ceilings and a lot of trim, the time a professional saves often outweighs the extra cost.
Frequently Asked Questions
How long does it take to paint a room? A single average-sized bedroom typically takes a full weekend when you count prep, two coats, and drying time between them — even though the actual painting might only take a few hours.
Do I need to prime before painting? Only in specific cases: covering a dark color with light, painting new or unfinished drywall, or covering stains and odors. Repainting a similar color over an already-painted wall in good condition usually doesn’t require a separate primer.
How many coats of paint do I need? Two coats is standard for even, opaque color. One coat can work if you’re painting a very similar shade over the existing color, but check the wall in daylight before deciding it’s enough.
What’s the best paint sheen for walls? Eggshell or satin works for most living spaces — enough durability to clean easily, without the extra shine of semi-gloss. Bathrooms and kitchens do better with satin or semi-gloss because of moisture and grease exposure.
Can I paint over dark colors without primer? It’s possible with some “paint and primer in one” formulas, but expect to need three coats instead of two. A separate primer coat first is faster overall and gives more even coverage.
How do I avoid roller marks? Use a roller nap matched to your wall texture, don’t overload the roller, and always finish each section with a light back-roll pass to smooth out the texture.
Conclusion
The gap between a paint job that looks fine and one that actually looks professional isn’t about better tools or more expensive paint. It’s the technique. Keeping a wet edge, working section by section, and finishing with a back-roll pass are simple habits, but they’re the specific things that prevent lap marks, roller texture, and the other small flaws that give a DIY paint job away. Follow the process in order, don’t rush the prep, and the result will hold up to a closer look not just a glance from across the room.
Related resources: How to Get Rid of Mold in Bathroom Spaces (And Keep It From Coming Back)
Related resources: Dark Blue House With Deck: 7 Color Combinations That Work