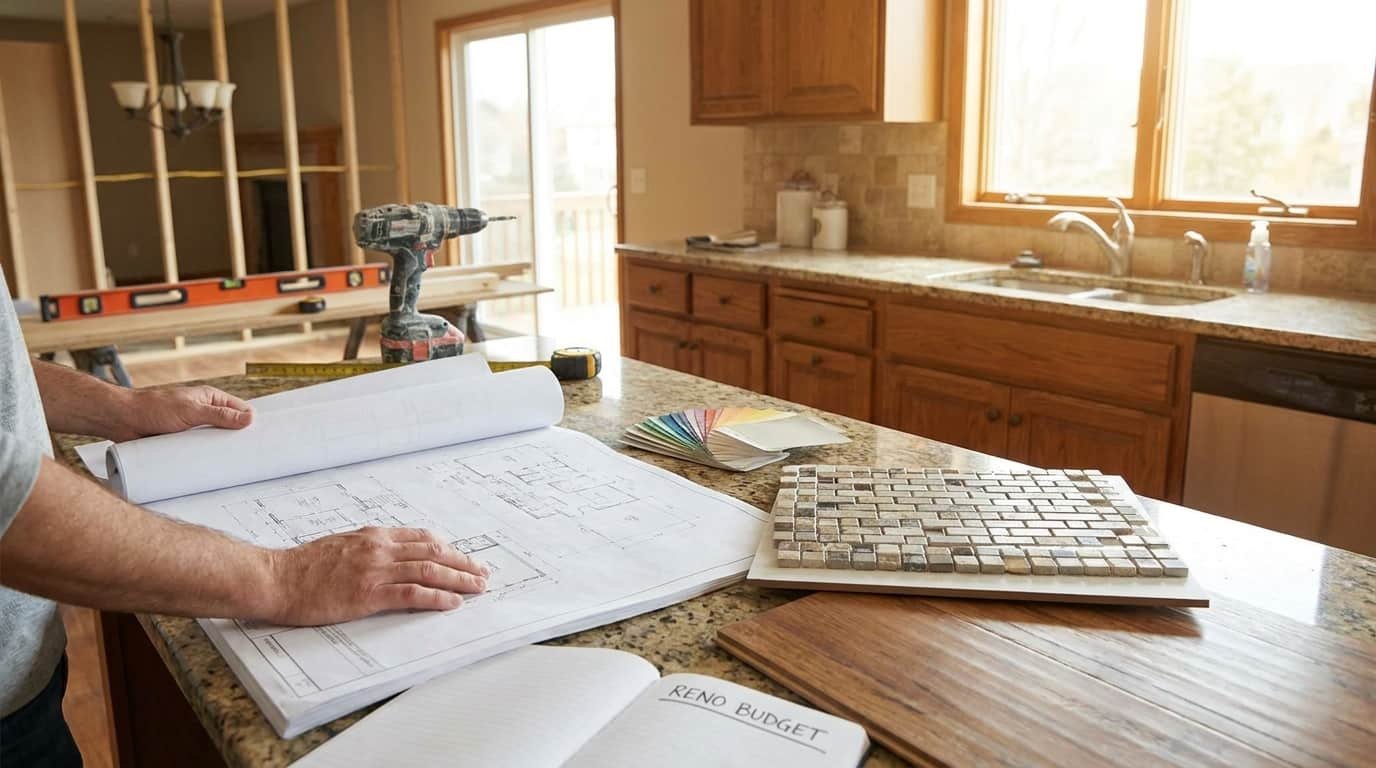
Planning a home renovation usually starts with high-energy inspiration, but it can quickly become a stressful logistical exercise. Staring at tile samples, paint chips, electrical quotes, and tool rentals raises immediate, frustrating questions: Which project actually comes first? Where will the budget go missing? And how do you prevent costly mistakes before work even starts?
Whether you are refreshing a single room or updating an entire property, following these practical renovation tips Decoradhouse homeowners use can help bring order to the process. Success rarely comes down to choosing the trendiest finishes. Instead, it relies on establishing a logical project sequence, creating a grounded budget, and knowing which tasks are safe to DIY versus which require licensed trade professionals.
This guide breaks down a realistic framework for managing a home update step-by-step—protecting both your wallet and your home’s long-term value.
1. The Core Renovation Strategy: Prioritize Foundation Over Surface
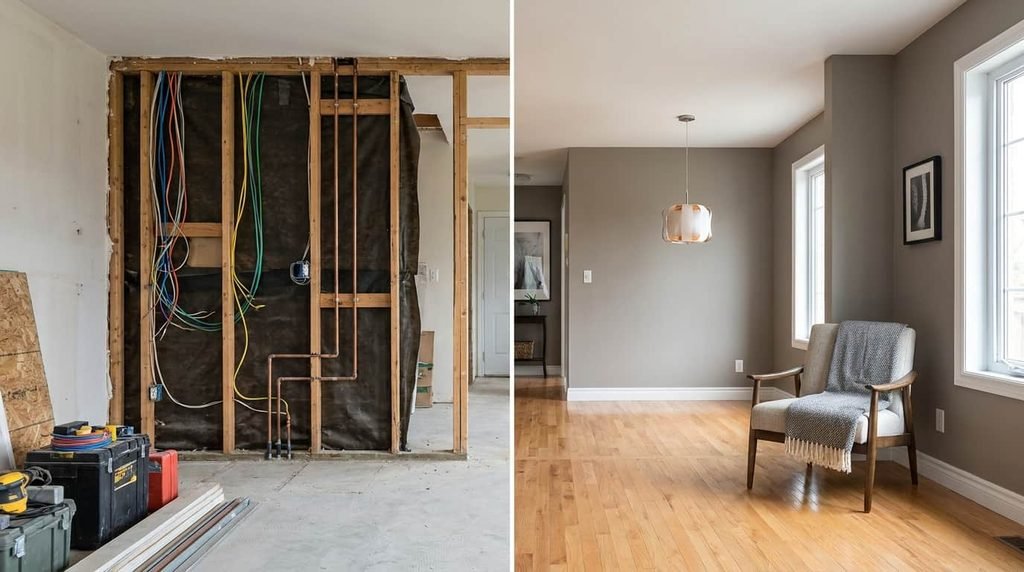
A common trap in home improvement is focusing on cosmetic updates while ignoring underlying functional needs. Picking paint colors or purchasing high-end light fixtures before addressing a leaking pipe or old wiring almost always leads to extra expense and rework.
A practical way to structure your project is to apply an 80/20 planning guideline:
- Allocate 80% of your energy and core budget toward layout functionality, structural health, and high-touch functional elements—such as moisture barrier protection, electrical safety, durable flooring, and kitchen or bath cabinetry.
- Reserve 20% of your budget for decorative finishes, accent paint, soft furnishings, and temporary styling elements that are easily updated over time.
By prioritizing utility and architectural soundness over short-term trends, your home remains functional, safe, and visually cohesive for years to come.
2. The Four-Phase Renovation Order of Operations
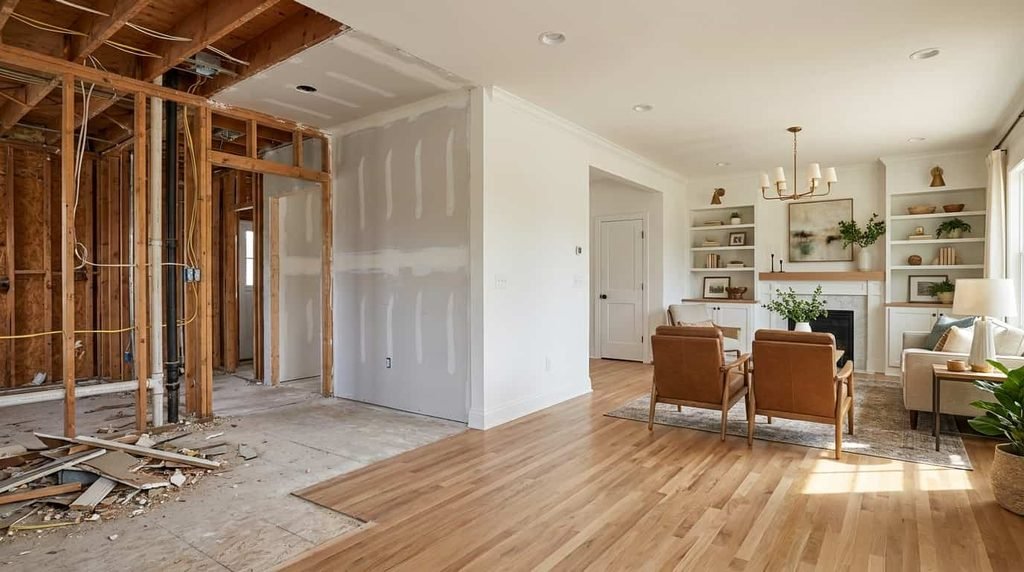
Executing renovation steps out of sequence is one of the easiest ways to ruin brand-new materials. Painting a wall before replacing wall tile, or installing hardwood flooring before demoing an adjacent closet, risks damaging new finishes.
While every home presents unique layout constraints, most successful projects follow a foundational four-phase progression.
Phase 1: Planning, Permits, Demolition, and Utilities
Before touching a paintbrush, address what lies behind the walls and underneath the floorboards:
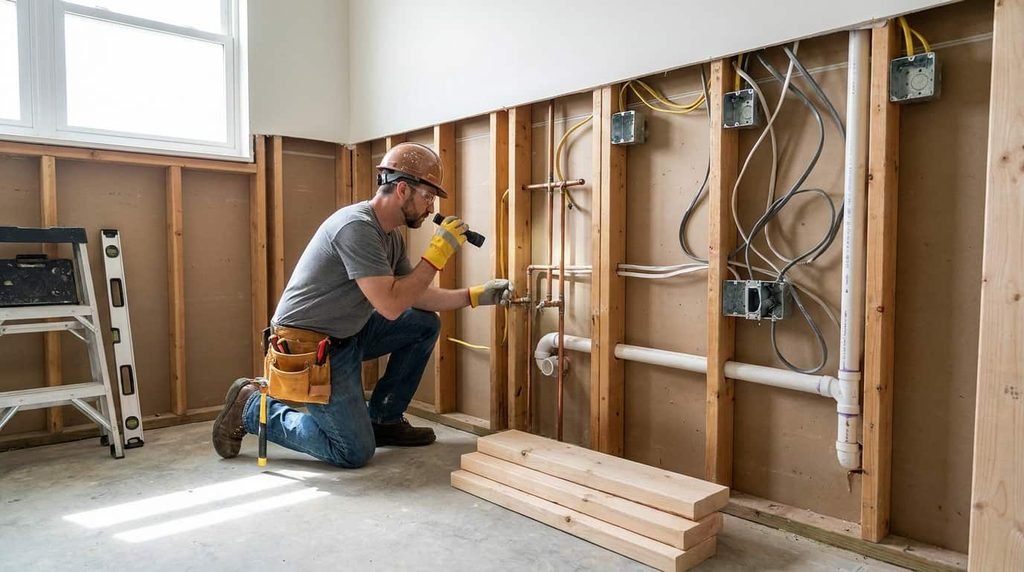
- Permits and Inspections: Check with your local building department to determine which structural, electrical, or plumbing tasks require formal permits. Requirements vary significantly by municipality.
- Demolition and Structural Prep: Safely tear out old materials, repair hidden moisture damage, and address subfloor rot.
- Rough-In Work: Run new wiring, install plumbing supply and drain lines, or adjust ductwork.
Example: If you want wall sconces flanking a bathroom mirror, have a licensed electrician install the junction boxes during Phase 1—well before drywall, tile, or wallpaper go up.
Phase 2: Enclosure, Hard Finishes, and Built-Ins
Once rough inspections pass, close up the walls and install permanent fixtures:
- Hang and patch drywall.
- Apply moisture-resistant backer board and install waterproofing systems in wet zones like showers.
- Lay primary tile or hardwood flooring, and securely anchor built-in cabinetry and vanities.
(Note: Depending on contractor preference and flooring type, some pros install floating click-lock floors after cabinetry to avoid pinning the floor down, while glue-down or nail-down hardwoods are typically laid first. Confirm the manufacturer recommendations for your specific material.)
Phase 3: Trim, Painting, and Architectural Finishes
With heavy construction wrapped up, focus on sealing and framing the room:
- Install baseboards, window casings, door trim, and crown molding.
- Prep, prime, and paint ceilings and walls. Painting at this stage protects expensive decorative light fixtures and custom window treatments from accidental splatters.
Phase 4: Fixture Drops, Hardware, and Final Decor
The final stage brings the room together without construction hazards:
- Hang decorative ceiling lights, switch plates, and outlet covers.
- Mount faucets, showerheads, cabinet knobs, and drawer pulls.
- Install window treatments and position heavy furniture.
3. Realistic Budget Planning: Splurge vs. Save
No two renovation budgets are identical. Local labor rates, home age, project scope, and unforeseen structural issues all affect the final price tag. However, creating a home renovation on a budget with a percentage-based starting model helps prevent overspending on secondary items.
Sample Budget Distribution Framework
Consider this percentage breakdown as a general guide for a full-room remodeling project:
| Category | Typical Allocation | Primary Uses |
| Structural & Trade Work | 35% – 45% | Labor, permits, plumbing, electrical, subfloor prep, framing. |
| Fixed Finishes & Cabinetry | 25% – 35% | Cabinets, countertops, main tile, hardwood flooring, vanities. |
| Fixtures & Millwork | 15% – 20% | Lighting fixtures, trim, interior doors, faucets, hardware. |
| Contingency Fund | 10% – 15% | Mandatory buffer for hidden decay, code updates, or material delays. |
Where to Consider Splurging
- High-Touch Points: Hardware and fixtures you touch every day—such as solid-core interior doors, heavy cabinet pulls, and solid brass faucet valves—greatly affect how high-quality a space feels.
- Layered Lighting: Invest in a combination of ambient (overhead/recessed), task (under-cabinet), and accent lighting (sconces). Good lighting makes budget-friendly materials look elevated.
Where to Save
- Window Treatments: Standard off-the-shelf drapery panels often look custom-made when hemmed correctly and mounted high near the ceiling.
- Secondary Tables and Accents: Side tables, entryway consoles, and decorative items can easily be bought second-hand or sourced from affordable retailers without compromising structural durability.
4. DIY vs. Hiring a Professional
Tackling projects yourself can significantly cut labor costs, but taking on high-risk tasks without proper training can result in dangerous code violations, voided product warranties, or structural damage.
   HIGH RISK / HIGH TECHNICAL SKILL ──┐
                                     │  ▲ HIRE A LICENSED PROFESSIONAL
                                     │  │ • Main electrical panel work & new circuits
                                     │  │ • Moving gas supply lines
                                     │  │ • Shower pan installation & waterproofing
                                     │  │ • Load-bearing wall removals
                                     └──┼────────────────────────────────────────────
                                        │  ▼ GENERALLY SUITABLE FOR DIY
                                     ┌──┼────────────────────────────────────────────
                                     │  │ • Painting walls, ceilings & trim
                                     │  │ • Upgrading cabinet knobs & drawer pulls
   LOW RISK / ACCESSIBLE SKILL ──────┘  │ • Installing basic decorative wall molding
                                        │ • Laying click-lock floating vinyl plank
Tasks Generally Suitable for DIY
- Surface Painting: Priming and painting walls, doors, and trim.
- Hardware Swaps: Replacing existing cabinet knobs, drawer pulls, and standard cover plates.
- Cosmetic Molding: Adding basic board-and-batten or picture-frame molding using adhesive and finish nails.
- Floating Floors: Installing click-lock luxury vinyl plank (LVP) or floating engineered wood over a prepped, level subfloor.
Tasks Usually Better Handled by Qualified Professionals
- Electrical Work: Adding new circuits, upgrading electrical panels, or running lines in wet areas. Always review National Electrical Code standards and guidelines established by the National Fire Protection Association (NFPA) or consult local requirements; any work involving new wiring, panel changes, or complex junction boxes should be handled by a licensed electrician.
- Plumbing and Gas Lines: Relocating supply/drain stacks or altering gas lines for appliances.
- Shower Waterproofing: Installing custom shower pans, linear drains, and integrated waterproofing membranes (such as sheet or liquid-applied barriers). A minor leak behind shower tile can rot subfloors and cause hidden mold growth.
- Structural Modifications: Removing walls, expanding window openings, or altering ceiling joists.
Safety & Permit Note: Building codes vary widely by city and county. Always check with your local municipality before starting work that alters plumbing, electrical systems, or structural elements.
5. Five High-Impact “Micro-Renovations”
If a full-scale renovation isn’t in your budget or timeline, smaller upgrading tips decoradhouse can dramatically improve a room’s functionality and aesthetic.
1. Upgrade Lighting Temperature and Controls
Replace harsh, cold bulbs with 2700K to 3000K warm-spectrum LEDs to create an inviting atmosphere. Adding dimmer switches allows you to adjust light levels throughout the day. (For simple like-for-like switch replacements, always turn off power at the main circuit breaker and verify with a voltage tester before touching wires; if you are unsure or need new wiring, call a professional.)
2. Add Architectural Character with Wall Molding
Install floor-to-ceiling board-and-batten or picture-frame trim using pre-cut MDF or pine strips. Painting the trim and wall the same color in a satin or semi-gloss finish adds depth and makes a plain room feel architecturally rich.
3. Reface or Paint Cabinetry
If kitchen or bathroom cabinet boxes are structurally sound, replacing just the doors or painting them with a self-leveling urethane enamel paint can make them look brand new at a fraction of the cost of custom cabinetry.
4. Hang Drapery High and Wide
Avoid mounting curtain rods directly onto window frames. Instead, install the rod 2 to 4 inches below the ceiling casing or crown molding and extend it 8 to 12 inches past the outer window frame. This lets maximum natural light into the room while creating the visual illusion of higher ceilings.
5. Update Cabinet Hardware and Outlet Covers
Swap worn, builder-grade plastic outlet covers for clean, screwless wall plates. Pair them with solid metal cabinet hardware in a consistent finish (such as warm brass or matte black) across the room.
6. Common Renovation Mistakes to Avoid
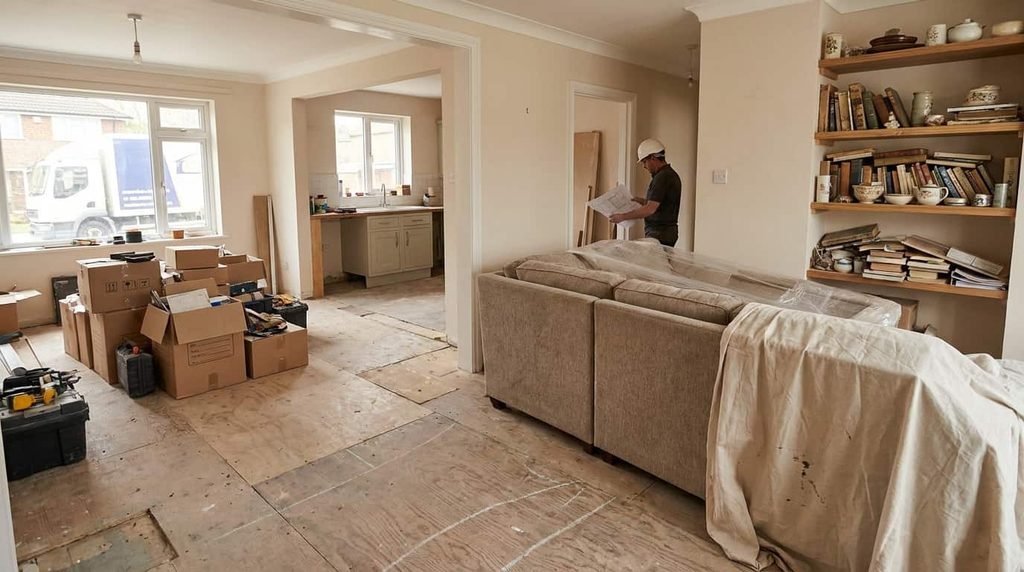
- Ignoring Room Clearances: Oversized furniture or poorly placed islands can pinch high-traffic areas. As a general starting point, aim for a main walkway clearance of at least 36 inches between furniture edges, walls, and kitchen islands.
- Miscalculating Material Lead Times: Tile, custom cabinets, and specialty plumbing fixtures often have multi-week delivery schedules. Confirm that critical fixtures have arrived and been inspected before starting demolition.
- Overlooking Storage Balance: Open shelving looks great in staged photos, but it easily accumulates clutter. Maintain practical kitchen organization by prioritizing a healthy balance between closed, concealed storage and open display space.
- Skipping Subfloor Preparation: Laying new tile or vinyl over an uneven or flexible subfloor will cause grout to crack and floor planks to separate over time. Always ensure subfloors are clean, level, and structurally stiff before installing hard finishes.
7. Frequently Asked Questions
What should I renovate first in an old house?
Focus first on critical structural health, weather-tightness, and safety systems. Repair roof leaks, manage foundation drainage, update dangerous electrical wiring, and repair plumbing leaks before investing in cosmetic upgrades like flooring or paint.
Do I need a permit for minor room renovations?
Permit rules depend on your local building department. Generally, simple cosmetic updates (painting, swapping hardware, laying floating flooring) do not require permits. However, moving walls, modifying electrical circuits, altering plumbing lines, or changing gas connections almost always require permits and inspections. For homes built before 1978, when disturbing painted surfaces during structural or major wall work, refer to the U.S. Environmental Protection Agency (EPA) guidelines on lead-safe work practices.
How much should I set aside for unexpected renovation costs?
Setting aside a 10% to 15% contingency fund is a helpful starting guideline for standard projects, while expanding that cushion up to 20% for older homes or complex structural overhauls can protect against hidden wiring issues, plumbing corrosion, or subfloor damage. Your exact reserve depends on project scope, home age, and local labor markets.
Is it cheaper to paint cabinets or replace them?
Painting or refacing sound cabinet boxes typically costs significantly less than buying new mid-grade cabinetry. However, if the existing cabinet boxes are water-damaged, made of failing particle board, or have an inefficient layout, complete replacement is usually the better long-term investment.
How do I calculate clearances for kitchen islands and dining tables?
Aim for a minimum clearance of 36 inches between the edge of a countertop or table and any adjacent wall or appliance as a practical baseline. In high-traffic zones or multi-cook kitchens, 42 to 48 inches of space provides much more comfortable clearance for opening oven or dishwasher doors.
Moving Forward on Your Project
Successful home updates don’t require endless budgets or complex design secrets. By keeping your planning focused on practical sequencing, maintaining a realistic contingency cushion, and respecting the limits of DIY work, you can update your home with confidence.
Choose one room to start, audit its current utility and electrical needs, and build a project outline before buying your first material sample.