11 Ways to Make Old Kitchen Cabinets Look Modern
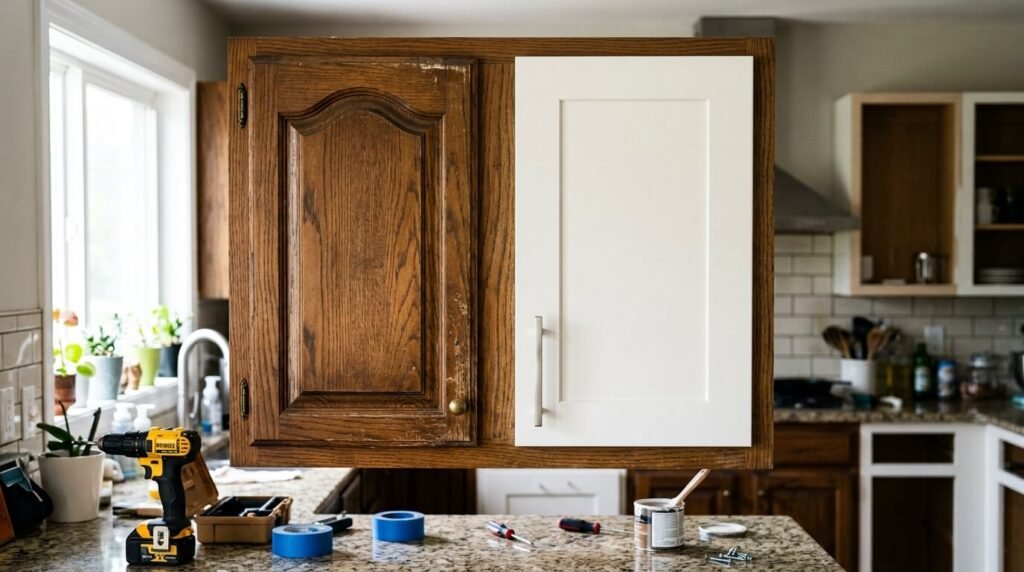
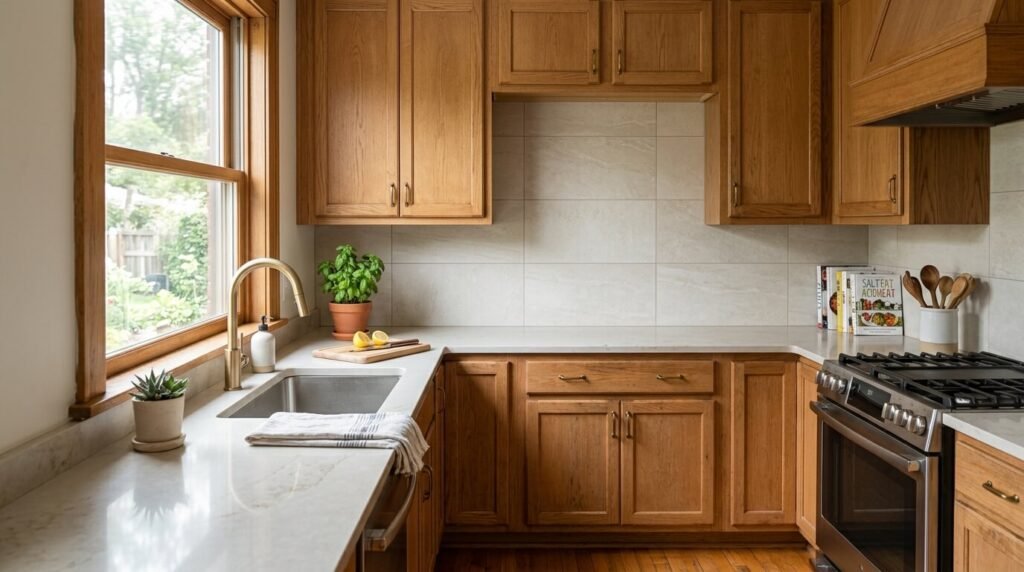
Old kitchen cabinets don’t automatically mean an old-looking kitchen. If you’re trying to figure out how to make old kitchen cabinets look modern, the good news is that most of the time the boxes bolted to your walls are still structurally sound; it’s the color, door style, hardware, and finish that are dating the room. Before you price out a full replacement, it’s worth knowing that a large share of what reads as “outdated” can be fixed without tearing anything out, and painting isn’t the only option if you’d rather not pick up a brush.
Below are 11 practical ways to modernize old cabinets, ranked roughly from lowest-cost and easiest to more involved projects. Not every method fits every kitchen; some depend on whether your cabinets are solid wood or laminate and whether the boxes themselves are in decent shape.
Fastest Ways to Modernize Old Cabinets (Quick Answer)
If you just need the short version before you dive in:
- Under $200, one weekend: swap the hardware (Method 3)
- Under $500, one weekend: add under-cabinet lighting (Method 8)
- A few hundred dollars, one to two weeks: paint the cabinets yourself (Method 1)
- $1,500–$4,500: hire a pro to paint them for a factory-level finish
- $4,000–$10,000+: reface the cabinets if the doors are too damaged for paint alone
- $8,000+: Full replacement can make sense when the cabinet boxes are damaged, the layout no longer works, or you want a major functional redesign.
Is It Worth Updating Your Old Cabinets? (Quick Assessment)
Before picking a method, spend ten minutes actually looking at what you have.
Check the Cabinet Boxes, Not Just the Doors
The boxes are the parts attached to the wall; the frames hold everything together. If the boxes are solid (no water damage, sagging, or structural separation) but the doors look dated, faded, or worn, you’re a strong candidate for almost any update on this list. If the boxes themselves are falling apart, warped, or water-damaged, cosmetic fixes will only go so far, and replacement may genuinely be the better investment.
Wood vs. Laminate/Thermofoil. Why It Matters for Your Approach
Solid wood cabinets can be sanded, primed, and painted using fairly standard techniques. Laminate and thermofoil cabinets common in kitchens from the late 1980s through the 2000s have a plastic-like coating that doesn’t sand or bond the same way. They can still be painted, but they need a bonding primer designed for slick surfaces, and peeling or bubbling thermofoil is a sign that the material itself needs replacing rather than repainting.
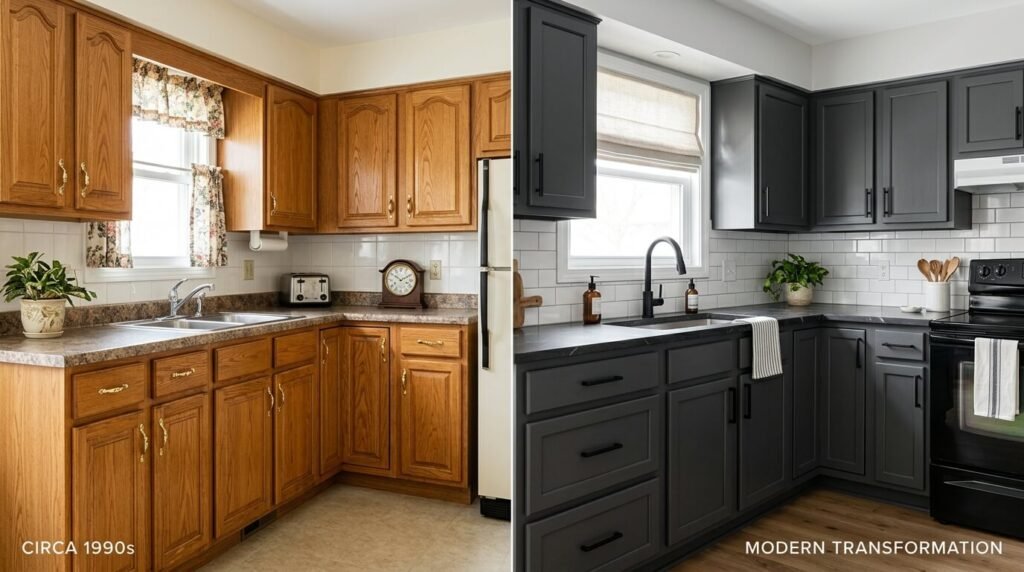
1. Paint the Cabinets a Modern Color
Painting is the single most effective way to change how old cabinets look, and it’s the update most homeowners start with. It won’t fix physical damage, but it eliminates the dated tone that’s usually the real problem — orange-toned oak, yellowed white, or a color that hasn’t been trendy in twenty years.
Best 2026 Cabinet Colors
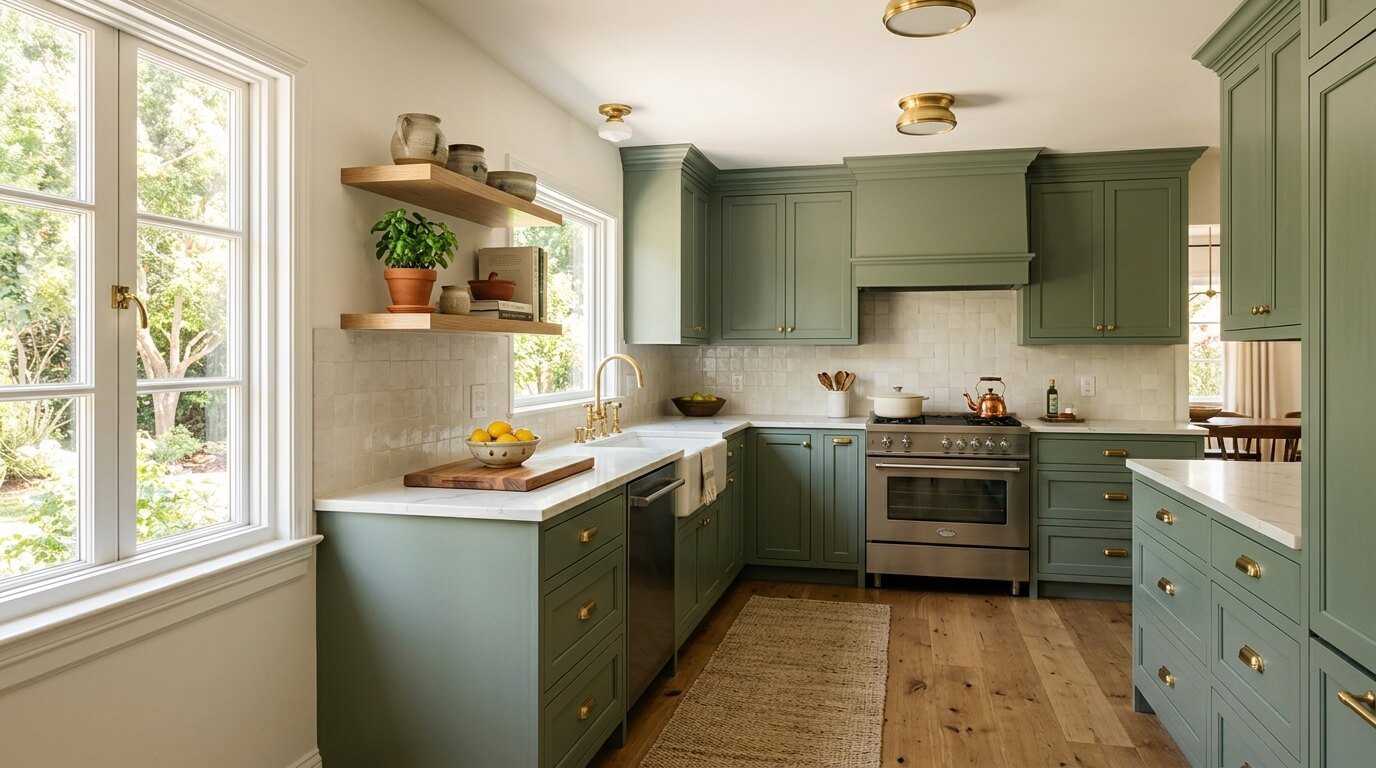
Current kitchen design coverage points to a shift away from stark white toward warmer, more grounded colors. Deep greens, moody blues, and warm greige neutrals are showing up frequently in 2026 kitchen trend reporting, alongside charcoal for homeowners who want a dark, modern look without going fully black. Sage and other muted earth tones remain popular for a softer, more natural feel. Order a physical sample and view it on the actual cabinet at different times of day if a specific shade catches your eye — the same color can read completely differently under morning light versus evening lamp light.
A Note on Lead Paint Safety in Older Homes
If your home was built before 1978, there’s a real chance your existing cabinet paint contains lead. The EPA estimates that roughly three-quarters of homes built before that year still have some lead-based paint somewhere in them. Sanding or scraping old paint on cabinets in a pre-1978 home can release lead dust, which is why the EPA recommends lead-safe work practices for any DIY renovation involving painted surfaces of unknown age, and requires paid contractors doing this kind of work to be certified under the RRP Rule. If you are unsure whether the existing coating contains lead, test or consult a lead-safe professional before sanding or scraping.
For technique specifics on how to keep a wet edge, avoid lap marks, and get an even finish without brush strokes, HomeFocuse’s guide to painting a room like a pro covers cutting-in and back-rolling techniques in detail. The core brushwork principles also apply to cabinet doors, although that guide is written specifically for walls.
One difference worth knowing is that cabinet-grade enamel drying and curing times vary by product and conditions. Some coatings may be dry to the touch within a day or two, while full curing can take several weeks. Always follow the paint manufacturer’s instructions for recoat times, light use, and full cure. Until the finish has hardened sufficiently, handle cabinet doors carefully and avoid slamming them or stacking dishes against newly painted surfaces.
Also look for a low-VOC or zero-VOC cabinet paint, especially if you’re painting in an occupied kitchen. Most major paint brands now offer one at a similar price to standard formulas, and it meaningfully reduces the strong smell and off-gassing in the days after painting.
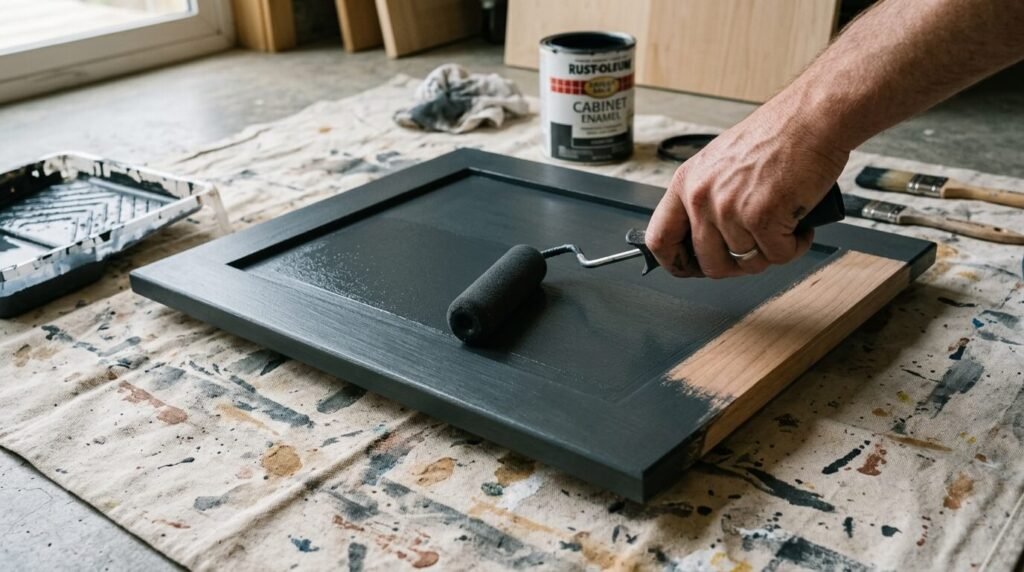
2. Try a Two-Tone Color Scheme
Pairing two colors — typically a darker shade on the lower cabinets and a lighter one on the uppers — is one of the more effective ways to make a kitchen look current without a full renovation. The contrast reads as intentional and designed rather than mismatched, and it works whether your kitchen leans modern, transitional, or farmhouse.
A common mistake with this approach is choosing two colors too similar in value or intensity, which flattens the contrast that makes two-tone work in the first place. Pairing one lighter, neutral anchor color with one deeper, more saturated color tends to produce a cleaner result. HomeFocuse’s full breakdown of two-tone kitchen cabinet combinations covers specific pairings of navy and white, charcoal and natural wood, sage and cream along with placement guidance and cost ranges if you want to go deeper on this option specifically.
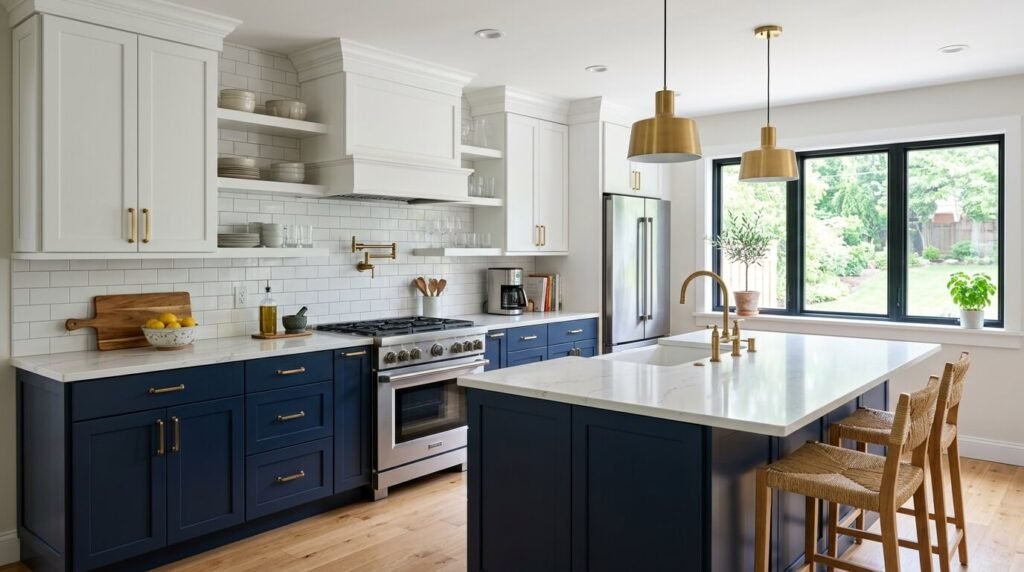
3. Swap Out the Hardware
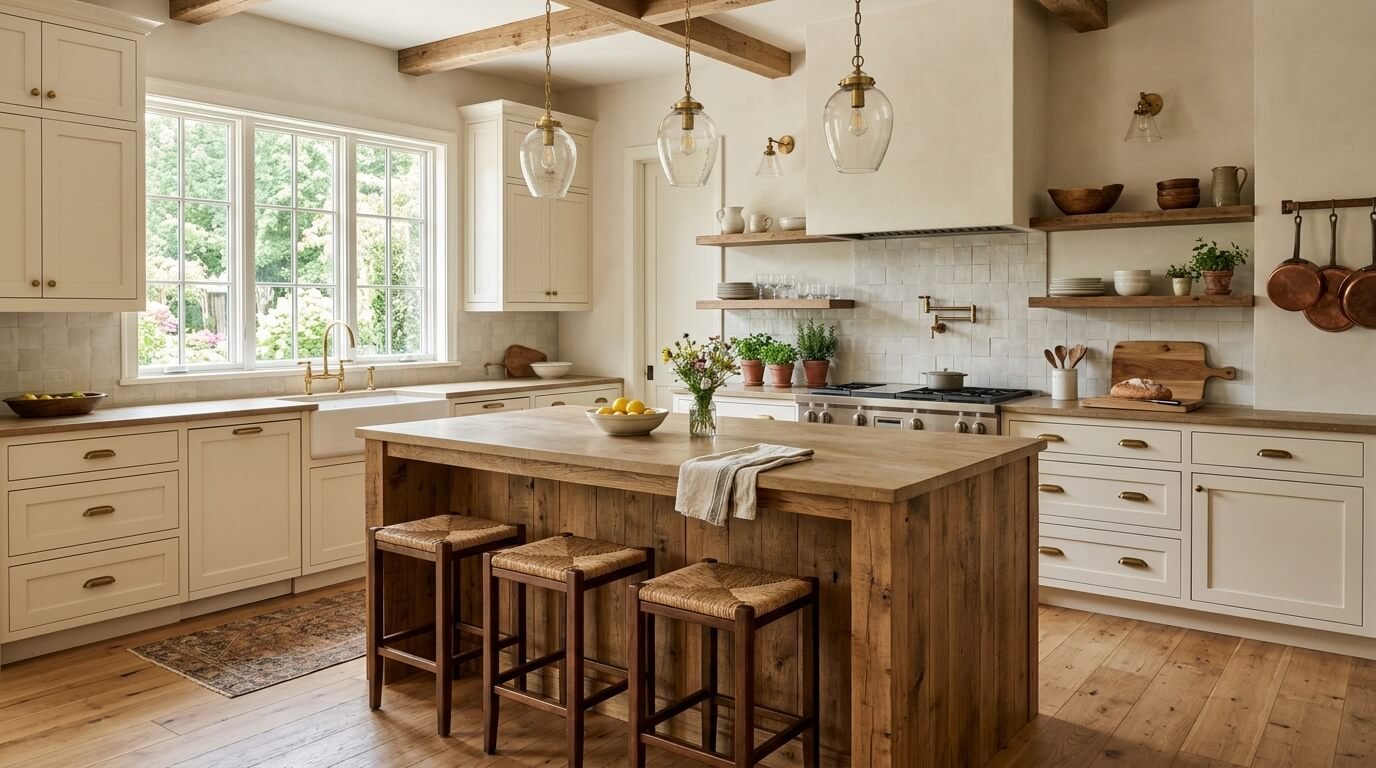
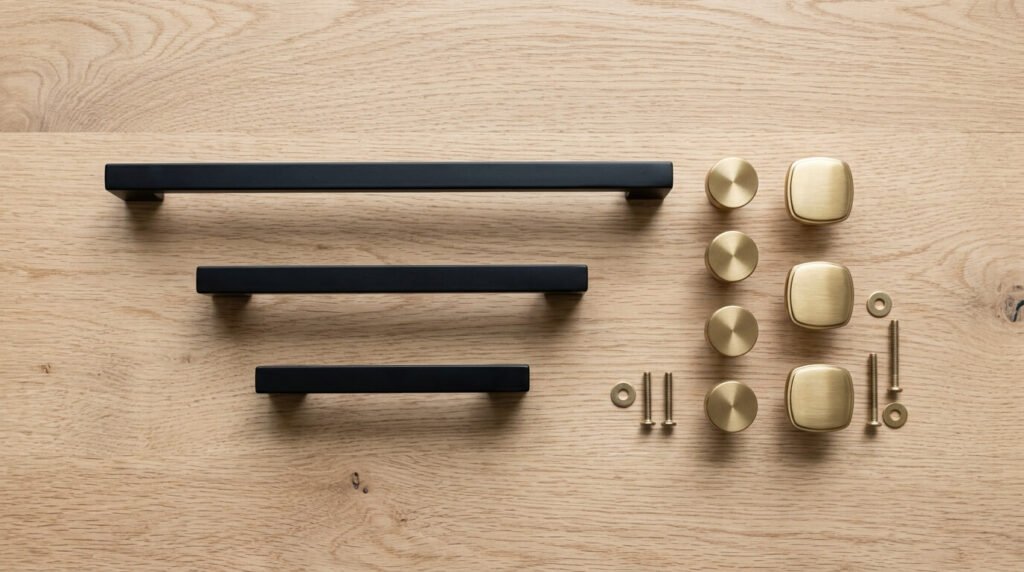
New knobs and pulls are the cheapest, fastest change on this list, and the visual impact is bigger than the cost suggests. Oversized bar pulls in matte black or brushed brass read as current; small, dated brass knobs are one of the fastest visual giveaways of an older kitchen.
Practical notes before you buy:
- Measure your existing hole spacing. If new hardware uses different spacing than the old holes, you’ll need to fill and touch up the old holes — factor that into the project time.
- Match hardware scale to cabinet size. Oversized pulls can look out of place on smaller cabinet doors, and undersized hardware can get visually lost on large, flat modern doors.
- Stay consistent with finish across the kitchen, even if you mix shapes — a single dominant metal finish (all matte black, or all brushed brass) tends to look more cohesive than several finishes competing for attention.
4. Replace Just the Cabinet Doors
If your cabinet boxes are solid but the doors themselves are damaged, warped, or too outdated in profile to save with paint alone, replacing just the doors is worth considering. This works well when doors have issues beyond style — badly peeling thermofoil, cracked veneer, or damage from heat and moisture near the stove.
New doors can be ordered to fit your existing box dimensions in a simpler Shaker or slab profile, which instantly modernizes the silhouette even before paint or hardware come into play. Two things to plan around: replacement doors are typically special-ordered, and lead times can vary considerably by supplier, material, size, and finish. Confirm current pricing and delivery times before ordering. You’ll also usually need to reorder hinges to match your existing boring pattern (or have new holes drilled) rather than assuming your old hinges will transfer over. This sits in a middle cost tier generally a few hundred dollars per door plus hardware, more than paint alone but less than a full cabinet replacement and it’s a common step within a broader refacing project (more on that below).
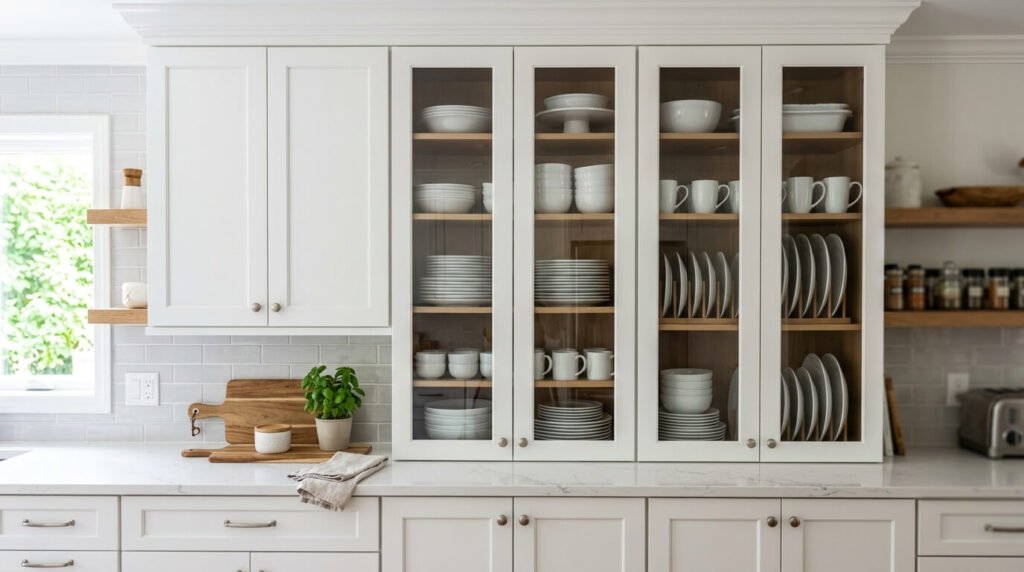
5. Add Glass Front Inserts
Swapping a few solid doors for glass fronts lightens the visual weight of a bank of cabinets and adds a display element. Clear glass feels airy and open; reeded or frosted glass adds texture while keeping the contents more private. This works especially well on cabinets flanking a stove or on a single accent wall rather than throughout the whole kitchen — an entire kitchen of glass-front cabinets means everything inside needs to stay consistently organized, which is more upkeep than most households want.
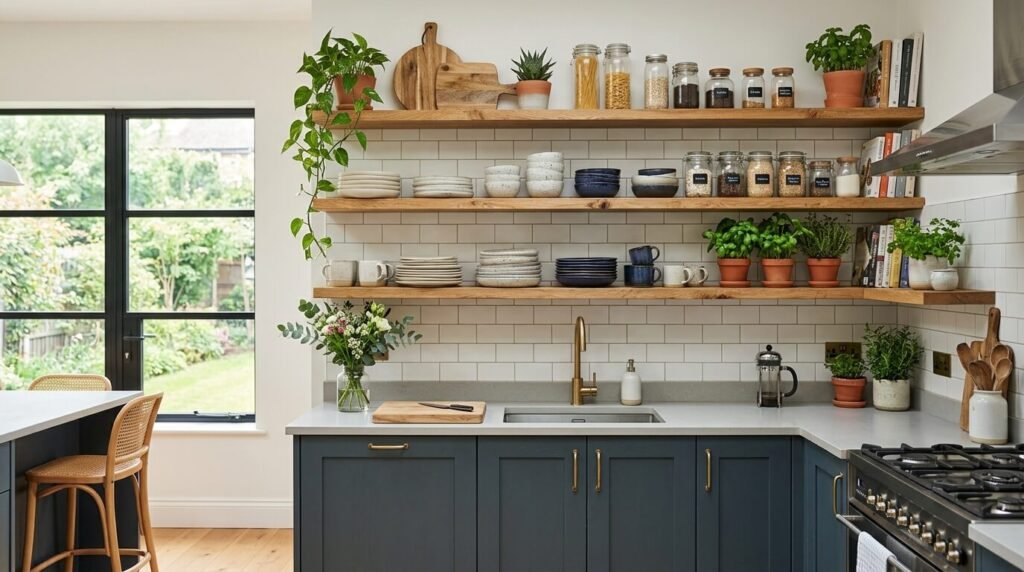
6. Remove Some Doors for Open Shelving
Removing the doors from upper cabinets — especially ones flanking a range or sink — creates the open-shelving look that’s been a steady kitchen trend for several years, without the cost of installing new shelving. It’s also one of the easier DIY changes: unscrew the hinges, patch the holes, sand, and touch up the paint on the interior of the box so the newly open storage looks finished rather than unfinished.
This works best in kitchens where you’re comfortable keeping the exposed contents tidy, since open shelving puts everything on display. It pairs naturally with a broader push toward a more open kitchen layout — if your kitchen already feels closed-off or boxed-in, HomeFocuse’s guide to opening up a split-level kitchen covers other ways to create that same airier feeling, with ideas that apply even if your home isn’t a split-level.
7. Add Trim, Molding, or Panel Details
Builder-grade cabinets from past decades are often plain, flat, and boxy in a way that reads as generic rather than intentional. Adding crown molding along the top of the cabinets — or soffit molding to close the gap between cabinets and ceiling — gives the kitchen a more custom, finished look. The effect comes from proportion: molding adds height and a defined shadow line that plain, flat-topped cabinets don’t have, which is part of why builder-grade kitchens read as unfinished in the first place. It can also visually draw the eye upward in a room with lower ceilings. Chair-rail style molding along the bottom edge of upper cabinets is another option, and it doubles as a clean way to conceal under-cabinet lighting wiring, covered next.
This is typically a few hundred dollars in materials for a full kitchen. Many homeowners choose to hire this work out because clean mitered corners require accurate measuring and cutting. Since clean corner joints matter for the finished look — expect labor to add several hundred dollars more.
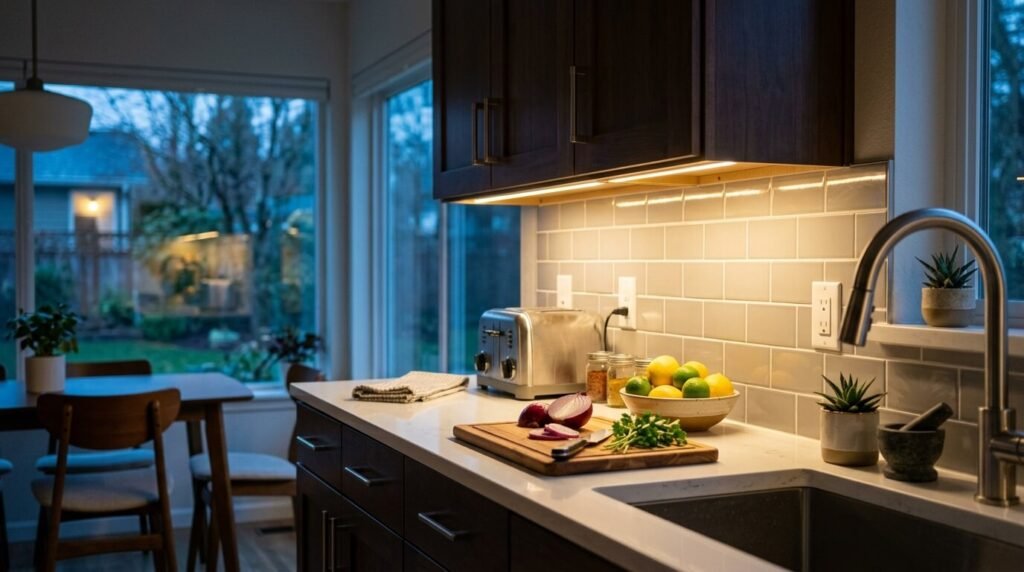
8. Install Under-Cabinet Lighting
Lighting is one of the more overlooked ways to modernize a kitchen, and it’s often cheaper than people expect. Puck lights or LED tape lighting installed under the upper cabinets adds a layer of warm ambient light, illuminates countertop work areas that overhead lighting often misses, and makes the whole kitchen feel more current — even if the cabinets themselves haven’t changed. It’s a relatively easy DIY add-on, especially with battery-powered or plug-in options that don’t require any wiring changes.
9. Try Peel-and-Stick Contact Paper (Budget/Rental-Friendly Option)
Self-adhesive contact paper or wood-look vinyl wrap is a lower-cost, more temporary way to change the surface color or texture of cabinet doors — a solid option for renters or anyone not ready to commit to paint. It’s genuinely easy to apply and just as easy to remove later, which makes it a reasonable short-term fix.
The trade-off: it’s not as durable as paint, especially near heat sources like the stove or areas that get frequent water exposure near the sink, and it can start peeling at the edges over time with heavy use. Think of it as a temporary refresh rather than a permanent modernization.
10. Reface the Cabinets Instead of Replacing Them
Cabinet refacing means keeping your existing boxes but replacing the doors, drawer fronts, and any exposed side panels with new material, then adding a fresh veneer to match. It sits between a paint job and a full replacement — more expensive than DIY painting, but generally faster and less disruptive than tearing out and reinstalling entire cabinet runs, since your plumbing, electrical, and layout stay untouched.
This tends to make the most sense when your cabinet boxes are structurally solid but the doors and finish are too far gone for paint alone to fix, or when you want a more uniform, factory-finished look than a DIY paint job typically achieves.
11. Update the Backsplash, Countertop, or Wall Color Around the Cabinets
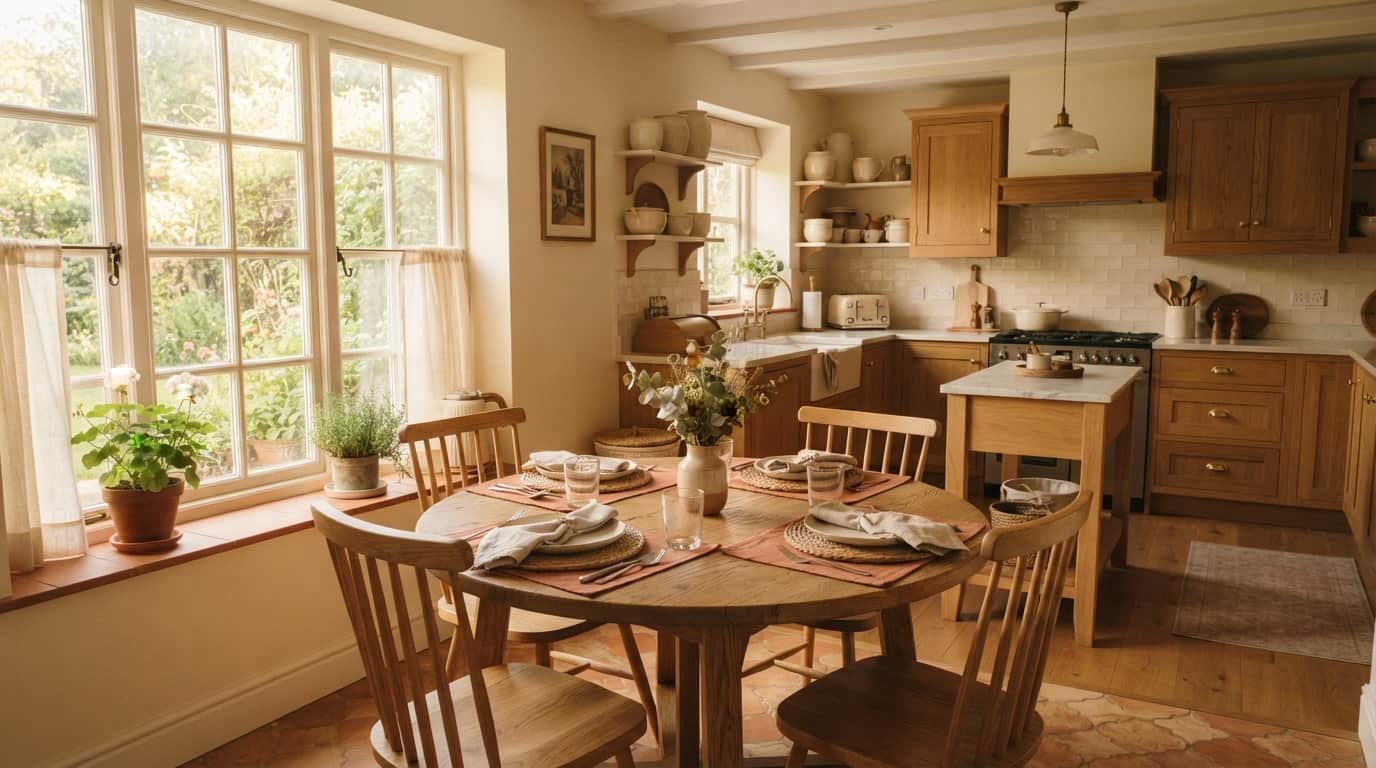
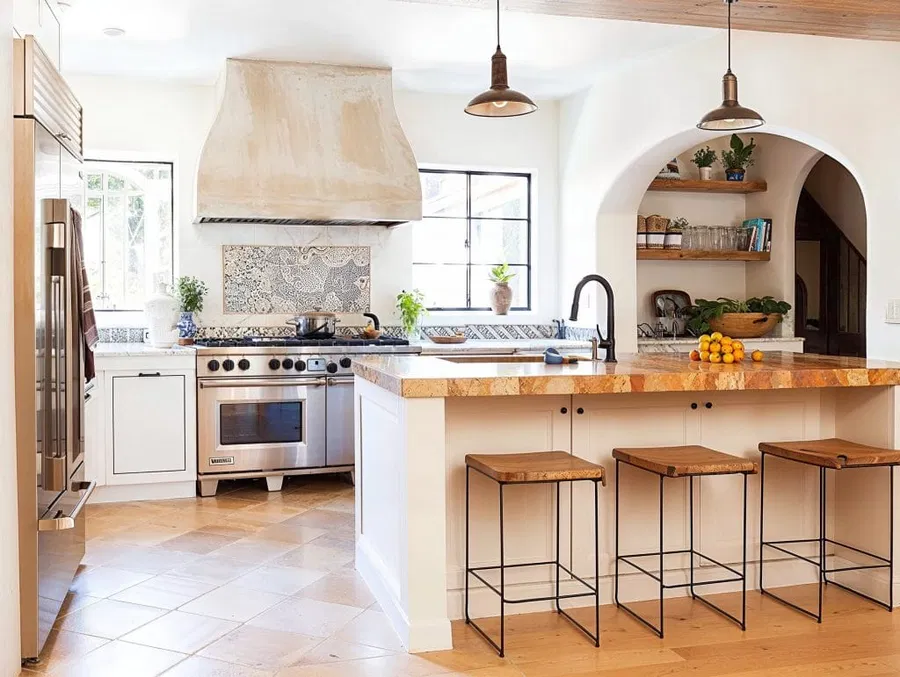
Sometimes the most effective way to make cabinets look modern is to leave them alone and change what surrounds them. Swapping an outdated backsplash for large-format tile, stacked subway tile, or a simple geometric pattern makes even traditional wood cabinets look more current, since the tile does a lot of the visual “modern” work. Painting the walls or ceiling — instead of the cabinets — is a lower-effort option too: a wall color with subtle contrast, like charcoal or a muted green, can downplay orange-toned wood cabinets without touching the cabinets themselves. A new countertop material has a similar effect, and it’s often the update that most changes how “finished” the whole kitchen feels.
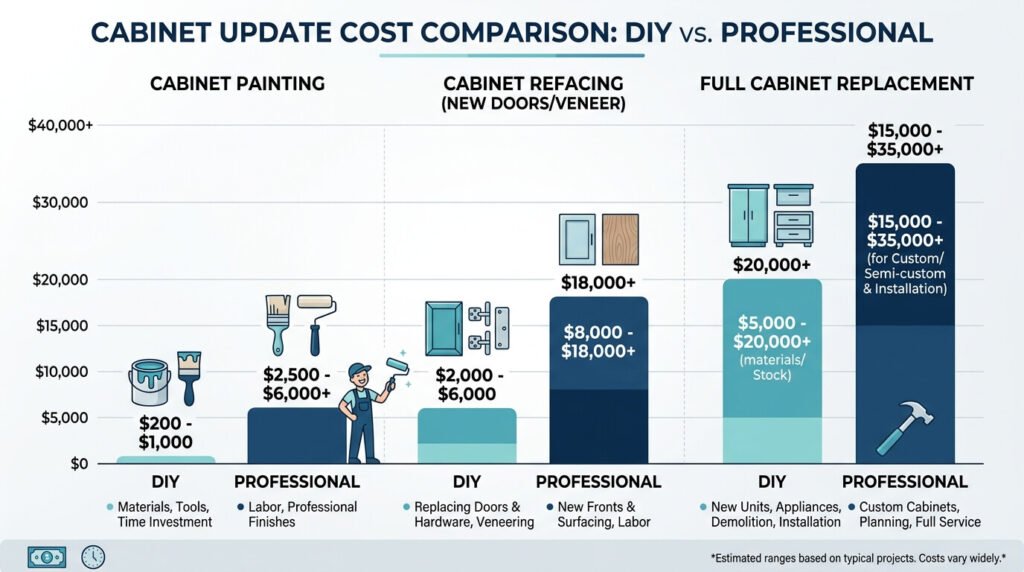
Cost Comparison: DIY vs. Professional Cabinet Updates
Costs vary significantly by region, labor rates, cabinet condition, and how many cabinets are involved — treat the ranges below as a general planning guide, and get local quotes for anything beyond a hardware swap.
| Update | Typical Cost Range | Notes |
|---|---|---|
| Hardware swap | Roughly $50–$200 | Fastest, lowest-cost option; add cost if hole spacing changes |
| DIY paint job | A few hundred dollars in materials | More labor and prep time required |
| Professional cabinet painting | Roughly $1,500–$4,500 | Faster turnaround, more even factory-like finish |
| Cabinet refacing | Roughly $4,000–$10,000+ | Keeps existing boxes; new doors, fronts, and veneer |
| Full cabinet replacement | $8,000 and up | Cost scales with kitchen size and materials chosen |
Common Mistakes to Avoid
- Skipping degreasing and deglossing before painting. Kitchen cabinets accumulate cooking grease, and paint won’t bond properly over it — clean thoroughly and scuff-sand or degloss before priming.
- Removing painter’s tape too late. If you wait until the paint is fully dry, it can bond across the tape edge and tear a jagged line out of the fresh paint when you pull it. Pull tape while the paint is still slightly wet, at a slow angle.
- Fixing only the doors and ignoring the boxes. A beautifully painted door on a water-damaged or sagging box won’t hold up — assess the whole cabinet, not just the visible surface.
- Using the wrong hardware scale for the cabinet size. Oversized pulls on small doors, or tiny knobs on large modern slab doors, both look off — match hardware proportions to the door.
- Mixing too many metal finishes. A little variation is fine, but too many competing hardware and fixture finishes in one kitchen reads as unplanned rather than intentional.
- Sanding old paint in a pre-1978 home without testing for lead first. This is a safety issue, not just a technique one — test before you sand or scrape.
Frequently Asked Questions
u003cstrongu003eIs it cheaper to paint or replace kitchen cabinets?u003c/strongu003e
Painting is almost always the cheaper option. A DIY paint job typically runs a few hundred dollars in materials, while professional cabinet painting generally falls in the $1,500–$4,500 range. Full replacement starts around $8,000 and climbs quickly with kitchen size and material choice. Refacing sits in between.
u003cstrongu003eCan you paint laminate or thermofoil cabinets?u003c/strongu003e
Yes, but they need a bonding primer designed for slick, non-porous surfaces rather than standard wood primer. If the thermofoil is already peeling or bubbling, that’s a sign of material failure that paint won’t fix — replacement of the affected doors is usually the better call.
u003cstrongu003eHow long does a cabinet painting project realistically take?u003c/strongu003e
For a full kitchen, plan for several days to a week for the hands-on work — cleaning, sanding, priming, and two coats of paint with drying time between steps. That’s separate from full cure: cabinet-grade enamel is typically dry to the touch within a couple of days, but commonly takes two to four weeks to fully harden, so go easy on heavy daily use until then.
u003cstrongu003eDo I need to test for lead paint before sanding old cabinets?u003c/strongu003e
If your home was built before 1978, it’s a reasonable precaution. The EPA estimates a large share of homes from that era still have some lead-based paint, and recommends lead-safe work practices for any DIY project that disturbs old paint. Testing kits are widely available, or you can hire a certified inspector if you want certainty before starting.
u003cstrongu003eWhat’s the most budget-friendly way to modernize old cabinets?u003c/strongu003e
Hardware alone is the cheapest meaningful change, often under $200 for a full kitchen. Pairing new hardware with a wall color change or an updated backsplash — without touching the cabinets themselves — is another low-cost combination that can shift how dated the kitchen feels.
u003cstrongu003eShould I paint or replace hardware first?u003c/strongu003e
If you’re doing both, replace hardware last. Painting first means you won’t have to work around new hardware, and old hardware holes are easier to patch and touch up before the final coat than after.
u003cstrongu003eDo two-tone cabinets still look modern in 2026?u003c/strongu003e
Yes. Two-tone cabinetry remains a widely used approach in current kitchen design, with combinations like sage green, charcoal, and navy appearing frequently in 2026 design coverage — as long as the two colors have enough contrast in value to read as intentional rather than mismatched.